 Chuckanut Exterior
 Larrabee Sits Where the Weather Doesn't Compromise
Homes along the Larrabee stretch of Chuckanut Drive sit in one of the more demanding microclimates in Whatcom County. You're close enough to Samish Bay to get salt-laden air off the water, exposed enough to catch driving rain funneled up the shoreline, and shaded enough by the forested hillside that moss and algae never really take the winter off. It's a beautiful place to live. It's also a hard place on exterior siding that wasn't built for it.
We've installed siding on enough homes in this corridor to know that what works fine in a dry inland neighborhood can fail early here. This page is about one job, done right, in one place: full siding installation for Larrabee homes. Not a general overview — the specific product, prep, and process that hold up against this stretch of coastline.
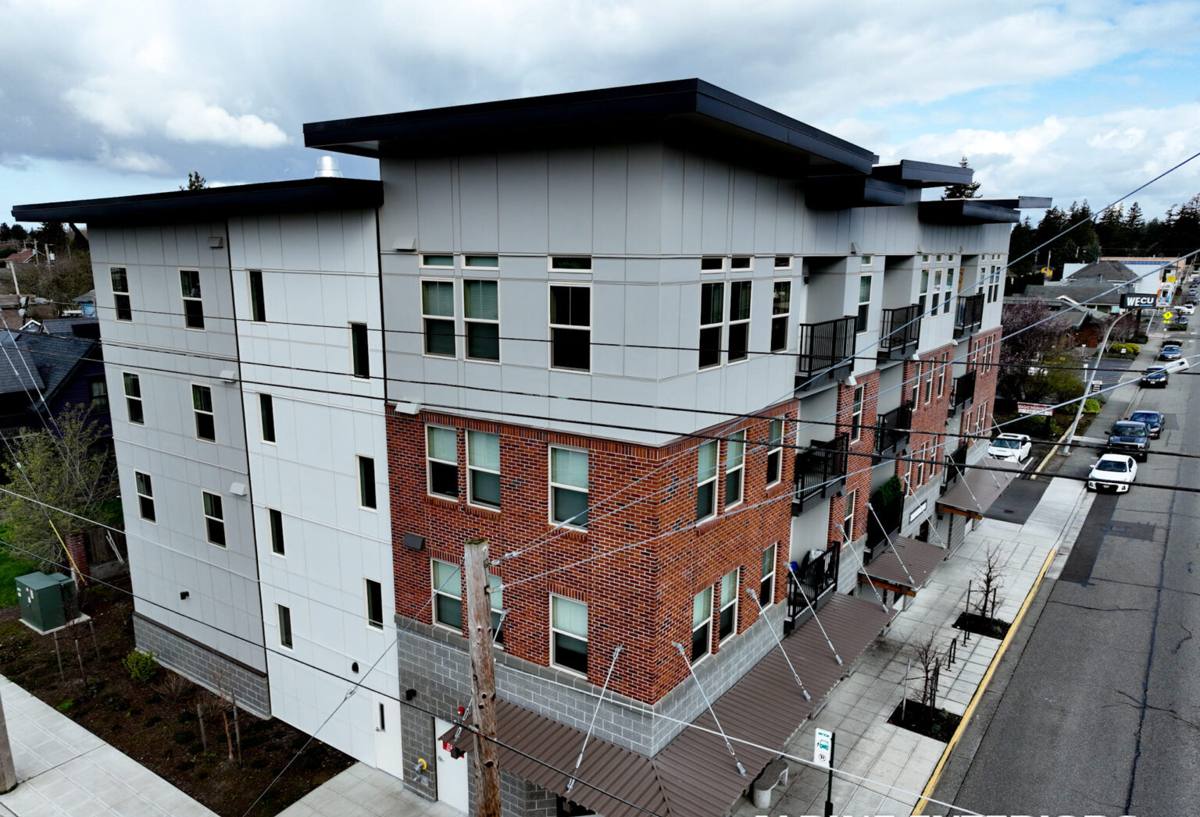
What Salt Air, Driving Rain, and Moss Actually Do to Siding
Salt Air
Airborne salt from Samish Bay settles on exterior surfaces and accelerates corrosion of fasteners, flashing, and any exposed metal trim. On siding materials that rely on paint film or a thin factory coating for protection, salt exposure combined with UV breaks that coating down faster than it would a few miles inland. Once the coating goes, the substrate underneath is exposed to everything else on this list.
Driving Rain
Wind off the water doesn't just drop rain — it pushes it sideways, into laps, seams, and butt joints that were never designed to handle direct, pressurized water. This is why lap coverage, flashing detail, and caulk joints matter more here than they would on a sheltered lot. A siding job that's "good enough" in a calm neighborhood can leak within a few seasons on an exposed Larrabee elevation.
Moss Season
Whatcom County's tree cover and marine humidity give moss and algae a long growing window — often close to year-round on north-facing and shaded walls. Moss holds moisture directly against the siding surface. On materials that swell, delaminate, or absorb water when their coating is compromised, that constant dampness is what turns a cosmetic problem into a structural one.
Why We Install Only James Hardie Fiber Cement
We made a deliberate decision as a company to install James Hardie fiber cement siding exclusively. We don't install vinyl, LP SmartSide, primed spruce or cedar lap, or other fiber cement brands like Allura or Cemplank. That's not a marketing position — it's a standard we set after weighing how different siding systems actually perform in exactly the conditions Larrabee homes face.
Vinyl can warp and fade under UV and temperature swings, and its seams are a known path for wind-driven rain intrusion. Wood-based products like LP SmartSide and primed spruce depend on an intact factory or field coating to keep moisture out of an engineered wood substrate — once that coating is breached, especially in a moss-prone, high-moisture setting, swelling and rot can follow. Cedar is a genuinely attractive natural material, but it requires ongoing refinishing and is far more vulnerable to sustained dampness and insect activity than a cement-based product. Other fiber cement brands make reasonable products, but we standardized on one manufacturer so our crews, our warranty process, and our long-term maintenance guidance stay consistent.
James Hardie fiber cement is non-combustible, doesn't support moss growth the way wood-based sidings can, and comes in HZ5 formulations engineered for Pacific Northwest moisture cycles. The ColorPlus factory finish is baked on and backed by its own finish warranty, so you're not relying on a field-applied coat of paint to be your only line of defense against salt air and UV. For a home taking the kind of weather Larrabee gets, that combination is what we're willing to put our name behind.
What a Correct Siding Installation Involves
The siding board itself is only part of the system. Most siding failures we get called to diagnose — on any brand — trace back to installation details, not the product. On an exposed Larrabee elevation, these details aren't optional extras; they're what determines whether the job lasts fifteen years or fifty.
- Water-resistive barrier: A continuous, properly lapped weather barrier installed over the sheathing before any siding goes up, so water that gets past the cladding still has a way out.
- Rainscreen drainage gap: A furred-out air gap behind the siding lets any moisture that reaches the wall assembly drain and dry, instead of sitting trapped against the sheathing — critical in a driving-rain, high-humidity environment.
- Flashing at every penetration: Windows, doors, vents, and roof-to-wall transitions get proper flashing and integration with the weather barrier, not just a bead of caulk.
- Correct fastening: Hardie boards fastened per manufacturer spec — right fastener type, spacing, and depth — so boards stay secure without cracking or working loose under wind load.
- Proper clearances: Siding held clear of grade, roofing, and decks per code and manufacturer guidelines, so it isn't sitting in standing water or splash-back.
- Sealed and painted cut edges: Any field-cut edge gets sealed so the engineered core isn't left exposed to moisture.
Our Installation Process
1. On-Site Assessment
We walk the home and look at exposure by elevation — which walls take direct weather off the bay, where moss is already established, where past water intrusion has left signs like staining, soft trim, or bubbled paint.
2. Prep and Repair
Before new siding goes up, we address what's underneath it. That means confirming or replacing the weather-resistive barrier, repairing any damaged sheathing, and correcting flashing at windows, doors, and rooflines. Installing new siding over a compromised wall assembly just hides a problem instead of fixing it.
3. Installation
Rainscreen furring, then Hardie boards, panels, or trim installed to manufacturer spec with attention to lap coverage and fastening patterns suited to the exposure level of each wall.
4. Detailing
Caulking, touch-up paint on cut edges, and trim work finished to a standard that holds up to inspection up close, not just from the curb.
5. Walkthrough
We go over the finished work with you, explain what was done differently on exposed elevations versus sheltered ones, and cover basic care going forward.
Cost Factors for a Larrabee Siding Project
Every home is different, but the variables that move the price on a Larrabee job tend to be the same ones. This table is meant to help you understand what drives cost, not to substitute for a real quote.
| Factor | Why It Matters Here |
|---|---|
| Wall exposure to wind and rain | Bay-facing and unsheltered walls need more careful flashing and drainage detail, which adds labor |
| Condition of existing sheathing and barrier | Moss and driving rain over the years can mean hidden moisture damage that needs repair before siding goes on |
| Home size and wall complexity | Dormers, multiple gables, and cut-up elevations take more time to flash and trim correctly |
| Siding profile and trim selection | Lap width, panel style, and trim detail affect both material cost and install time |
| Access and site conditions | Sloped lots and tree-lined properties common in this area can affect staging and scaffolding needs |
Why a Crew That Already Works Larrabee Matters
Siding installation isn't a one-size-fits-all trade. A crew that mostly works dry, inland neighborhoods may not think twice about a marginal flashing detail or an undersized drainage gap — because in that setting, it rarely gets tested. On a Larrabee elevation facing Samish Bay, that same shortcut gets tested every winter.
Working this corridor regularly means we already know which walls in this area take the worst of the weather, what moss growth patterns tell us about existing drainage problems, and which details are worth the extra time. That's the difference between a crew that installs siding and a crew that installs siding that's built to survive where it's going.
Living With Your Siding: Moss-Season Maintenance
Correct installation is most of the battle, but a little upkeep keeps a Hardie system performing at its best through Whatcom County's long moss season.
- Rinse siding annually, focusing on shaded, north-facing walls where moss and algae tend to establish first
- Keep gutters clear so overflow doesn't run down the siding face and feed moss growth
- Trim back tree limbs and shrubs that keep walls shaded and slow to dry
- Check caulk joints around windows and trim every couple of years and touch up as needed
- Address any soft spots, staining, or bubbling promptly — early, small repairs beat waiting for a bigger one
If you're planning a siding project for a Larrabee home, we're glad to take a look and talk through what your specific walls need. Reach out for a free, no-pressure estimate — we'll walk the exterior with you and give you a straight answer on scope and cost before any work begins.