 Chuckanut Exterior
 New-Construction Windows in Bow: A Different Job Than Replacement
When people say "new-construction windows," they mean something specific: windows installed into a framed opening that still has open stud bays, no siding, and no interior finish yet. The window has a nailing fin around its perimeter that gets integrated directly into the wall's weather-resistive barrier before siding goes on. This is different from a replacement window, which gets fitted into an existing finished opening with the old frame or trim still in place. If you're building new in Bow, adding a room, or replacing windows down to the rough opening, this is the job you're dealing with — and it has to be done in a specific order, or the wall behind the window ends up worse off than before.
We work new-construction window installs for homes in and around Bow regularly, coordinating with builders, framers, and siding crews so the window step lands at the right point in the schedule — not too early, not after the weather barrier is already closed up wrong.
Why This Matters More Here Than in a Dry Climate
A sloppy new-construction install can hide for years in a dry region. Near Chuckanut, it won't. Salt air, driving rain off the water, and a long moss season put real, repeated pressure on every seam around a window opening. If the flashing sequence is wrong, water finds it — usually at the bottom corners of the window first, then inside the wall where nobody sees it until there's a stain, soft trim, or a moisture reading that shouldn't be there.
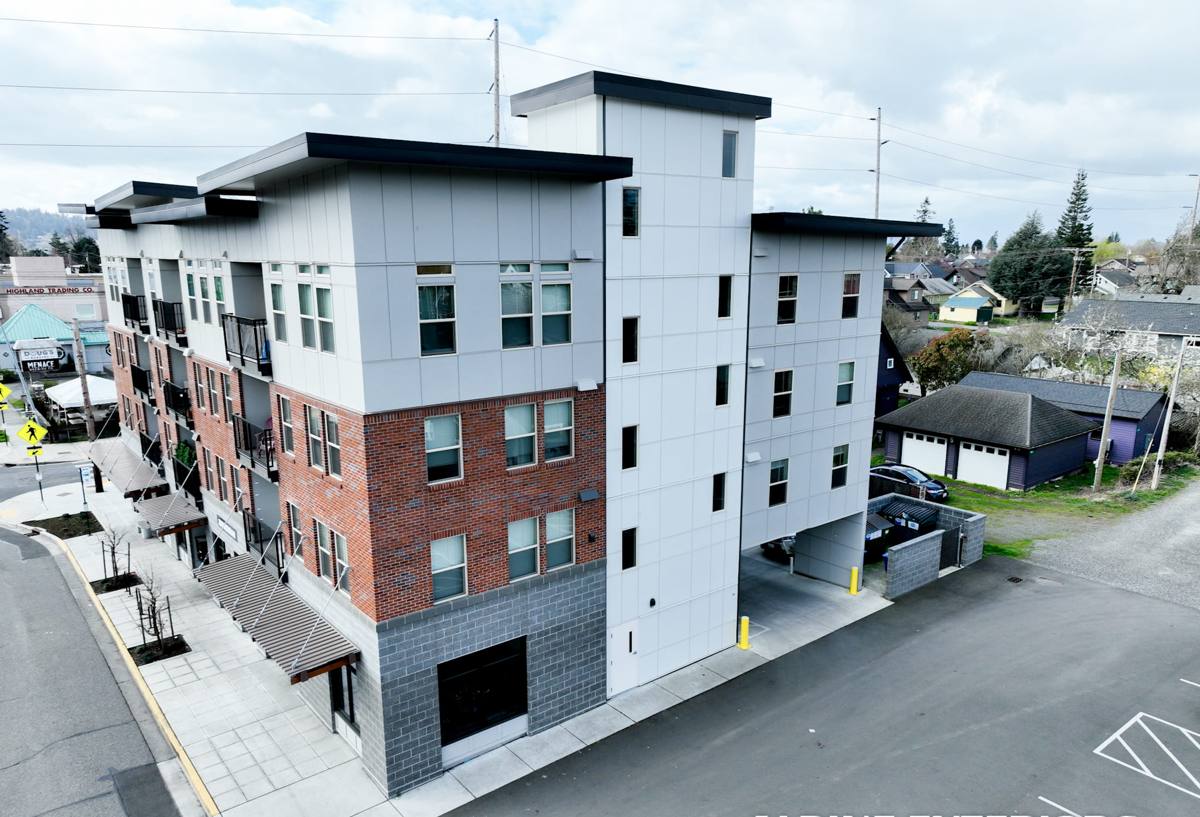
What Chuckanut-Area Weather Does to a New Window Install
Three things define this climate for window work, and each one demands something specific from the install:
- Salt air: Homes closer to the water see accelerated corrosion on unprotected fasteners and lower-grade metal flashing. We use fasteners and flashing rated for coastal exposure, not generic interior-grade hardware.
- Driving rain: Wind-driven rain doesn't just fall on a window — it gets pushed sideways and upward into gaps that would stay dry in a calmer climate. That means head flashing, sill pans, and side flashing all have to overlap in the correct shingle-style order, with no reliance on caulk alone to keep water out.
- A long moss season: Extended damp periods keep moisture sitting against surfaces longer than in drier parts of the state. Any gap in the weather barrier around a window stays wet longer before it has a chance to dry, which is exactly the condition that lets rot start in framing.
None of this means Bow needs exotic materials. It means the ordinary steps — sill pan, fin integration, flashing tape, head flashing — have to be done correctly and in order, every time, with no shortcuts.
Getting the Rough Opening and Flashing Right
This is the part of the job that actually determines whether a window performs for 20+ years or starts leaking in five. The sequence we follow:
- Check the rough opening is square, level, and sized correctly for the window unit — too tight or too loose both cause problems.
- Install a sloped sill pan at the bottom of the opening so any water that gets past the window has somewhere to drain, instead of sitting on flat wood.
- Set the window and fasten the nailing fin per the manufacturer's schedule — this affects both structural performance and warranty validity.
- Flash the sides, then the top, in the correct shingle-lap order so each layer sheds water onto the layer below it, never the reverse.
- Integrate the flashing into the wall's weather-resistive barrier (housewrap or equivalent) so the whole assembly works as one continuous water-shedding system, not separate pieces taped together after the fact.
- Seal and insulate the interior gap between the frame and rough opening — this affects both energy performance and condensation risk at the window frame.
Skip or reorder any of these steps and the window may look fine for years while water quietly works its way into the wall assembly behind it. This is why we don't treat new-construction window installs as a quick trade-stop — it's a sequence, and every step depends on the one before it being done right.
Window Material and Glass Choices for a Marine Climate
There's no single "best" window material — it depends on budget, maintenance appetite, and how exposed the home is to wind and salt air. Here's how the common options compare for a Bow-area new build:
| Material | Moisture & Salt Air Behavior | Maintenance | Typical Cost Range |
|---|---|---|---|
| Vinyl | Good — won't rot or corrode; seams are the main watch point | Low — occasional cleaning | Lower end of the range |
| Fiberglass | Very good — dimensionally stable, holds up well to temperature swings and moisture | Low | Mid to upper range |
| Wood-clad | Good on the exterior clad face; the wood interior needs the cladding to stay intact to avoid moisture exposure | Moderate — interior wood may need periodic finishing | Upper range |
| Aluminum | Prone to corrosion in salt air unless properly coated; also conducts cold, increasing condensation risk | Higher — coating maintenance matters | Varies |
For most new-construction jobs near Chuckanut, we steer homeowners toward vinyl or fiberglass frames specifically because they don't corrode and hold up to sustained damp weather without added upkeep. Aluminum frames need a strong protective coating to hold up here, and we're upfront about that trade-off rather than installing something we know will need extra attention.
Glass Package Matters Too
Low-E coated, argon-filled dual-pane glass is the standard we recommend for this region — it cuts heat loss in winter, reduces solar gain in summer, and helps limit condensation on the interior glass surface during cold, damp stretches. For homes with more direct rain or wind exposure, we'll also talk through impact-resistant or heavier-gauge glass options where it makes sense.
Our New-Construction Window Process
For a Bow-area job, the process generally runs like this:
- Site visit and measurements: We confirm rough opening sizes against the window order, and check the wall assembly plan (housewrap, sheathing type, siding material) so flashing details are planned correctly from the start.
- Scheduling with the build timeline: Windows go in after the weather-resistive barrier is up and before siding closes the wall — we coordinate directly with builders or framers so we're not working around finished work or holding up the schedule.
- Installation: Sill pan, window set, fin fastening, and full flashing integration, following manufacturer instructions to keep the warranty intact.
- Interior sealing and insulation: Gaps around the frame are sealed and insulated before interior finish work covers them.
- Final check: We walk each opening to confirm flashing laps correctly, fasteners are set properly, and the unit operates smoothly before we call it done.
Energy Code and Performance Considerations
Washington's energy code sets minimum performance requirements for new-construction windows, including U-factor limits that affect how much heat a window lets escape. These requirements aren't optional on a new build or permitted addition, and they factor into the whole-house energy compliance path your builder or designer is using. We work with window specs that meet or exceed current code minimums, and we can talk through how your glass and frame choice affects your overall energy compliance approach if you're unsure what your project needs.
Why a Crew That Already Works Bow Matters
New-construction window work isn't just about the window itself — it's about how well it ties into everything around it: the housewrap, the siding type going on next, the flashing details a particular builder prefers, and the realities of scheduling around Whatcom County's wetter stretches of the year. A crew that already works in this area knows:
- Which flashing details hold up best against wind-driven rain in this specific exposure.
- How to sequence the work so it doesn't get caught mid-install by a rain window.
- What local building department inspectors are typically checking for on window rough-in.
- How to coordinate cleanly with other trades on an active build site instead of creating rework.
That local familiarity is the difference between a window install that's just "technically correct" and one that's actually built for how this area's weather behaves over time.
Common Mistakes We Watch For
A lot of window callbacks trace back to a short list of avoidable errors. Before we call a new-construction install finished, we confirm:
- Sill pan is sloped and installed before the window, not skipped or added as an afterthought.
- Flashing laps in the correct shingle order — sides before top, never reversed.
- Nailing fin is fastened per the manufacturer's exact schedule, not "close enough."
- Flashing is fully integrated into the housewrap, not just taped on top of it.
- Interior gap is sealed and insulated, not left open behind the trim.
- Fasteners and flashing components are rated for coastal, salt-air exposure.
After Installation: Living With Windows in This Climate
Once the windows are in and the home is finished, a little seasonal attention keeps them performing. Rinse accumulated salt residue and grime off exterior frames a couple times a year, especially on homes with more open exposure. Keep an eye on caulking at trim joints — it's a maintenance item, not part of the primary water-shedding system, so if it fails the flashing underneath should still be doing its job. During the wetter months, check that gutters and downspouts near window openings are draining properly rather than dumping water down the wall face, since sustained moss-season dampness is exactly when any weak point in the exterior gets tested hardest.
If you're building or framing a new opening in Bow and want the window portion of the job done right the first time, we're happy to walk the site, talk through material and glass options, and give you a straightforward, no-pressure estimate using the form below.