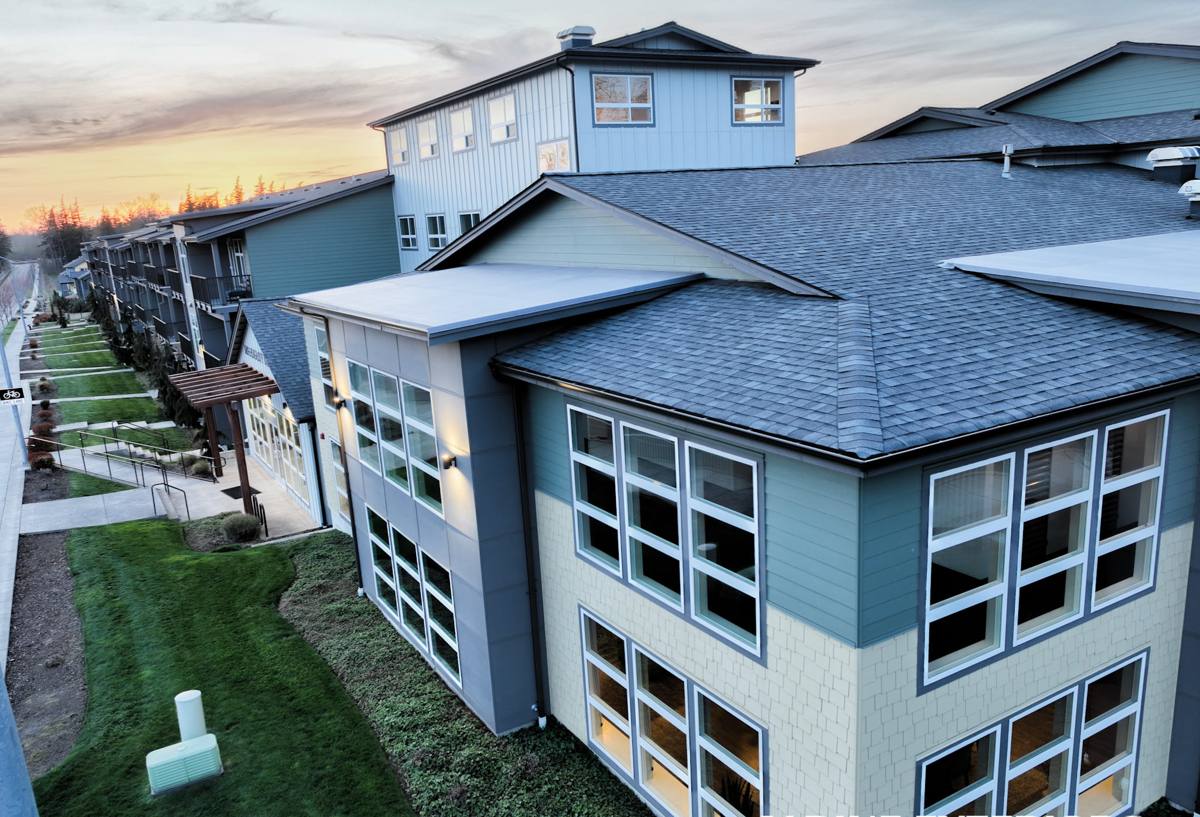
 Chuckanut Exterior
 Siding Installation in Bow: Built for the Chuckanut Climate
Bow sits close enough to the water that salt air is a daily fact of life, not an occasional nuisance. Combine that with Whatcom County's long wet season, driving rain off the Sound, and the moss and mildew growth that comes with months of shade and moisture, and you have one of the tougher environments in Western Washington for exterior siding. Homes here don't fail because siding is a bad idea — they fail because the wrong material or a rushed installation couldn't hold up to what this climate actually does to a house, year after year.
This page is about one thing specifically: what it takes to do a siding installation right on a home in Bow, and why the details most homeowners never think about — flashing, fastening, clearances, the weather-resistive barrier underneath — matter more here than almost anywhere else in the county.
Why Bow Homes Are Hard on Siding
Salt Air
Airborne salt accelerates corrosion on fasteners, trim, and any metal components tucked behind or around the siding. It also breaks down certain paints and coatings faster than they'd wear in a drier, inland location. Over years, homes closer to the water tend to show chalking, fading, and fastener staining well ahead of similar homes even a few miles inland.
Driving Rain
Wind-driven rain doesn't fall straight down — it gets pushed sideways into laps, seams, and butt joints. If a siding system isn't installed with the right overlaps, gaps, and flashing details, water finds its way behind the cladding. Once moisture gets behind siding and can't dry out, it doesn't matter how good the material looks from the curb — the sheathing and framing underneath are what actually take the damage.
Moss and Prolonged Moisture
Shaded lots, tree cover, and months of overcast, damp weather give moss, algae, and mildew everything they need to take hold on north-facing walls and anywhere airflow is limited. Moss holds moisture directly against a surface for extended periods, which is a problem for wood-based products in particular, and it's a maintenance headache on any siding that isn't factory-finished to resist it.
What Correct Siding Installation Actually Involves
A siding job looks simple from the street — panels or boards going up in rows. What actually determines whether that siding lasts 10 years or 40 happens underneath and behind it, in steps a homeowner rarely sees once the job is done.
The Weather-Resistive Barrier
Before any siding goes up, the wall needs a continuous, properly lapped weather-resistive barrier. Every seam, every penetration for a light fixture or hose bib, and every window and door opening needs to be integrated into that barrier correctly — shingle-style, so water always drains outward and down, never inward.
Flashing
Windows, doors, deck ledgers, roof-to-wall transitions, and any horizontal trim need flashing that actually directs water out and away from the wall assembly. This is the single most common place we find shortcuts on older installs, and it's usually the reason a home has hidden rot years before the siding itself shows any obvious sign of failure.
Fastening and Clearances
Fiber cement siding has specific fastening patterns, nail types, and penetration depths that manufacturers publish for a reason — get it wrong and you undermine the product's wind and moisture performance even if it looks fine on installation day. Clearance from the ground, from roof lines, and from decks and patios also matters: siding installed too close to grade or to a hard surface stays damp longer and invites splashback, both of which shorten its life.
Caulking and Joints
Correct sealant use — where to caulk, where to leave a gap for drainage, and which joints should never be sealed at all — is a detail that's easy to get backwards. Sealing a joint that's supposed to drain can trap water behind the siding instead of keeping it out.
Why We Install James Hardie Fiber Cement — and Nothing Else
We made a deliberate decision to install only James Hardie fiber cement siding. We don't install vinyl, LP SmartSide, Cemplank, Allura, or primed spruce or cedar, and that's worth explaining rather than just stating.
Vinyl is affordable and low-maintenance, but it's a petroleum-based product that can warp or become brittle with UV and temperature swings, and it's not the strongest performer against wind-driven debris. Wood-based and engineered-wood products can look excellent and are genuinely improved products, but they remain more sensitive to sustained moisture exposure than fiber cement — a real consideration in a climate where moss and damp shade are the norm on north- and west-facing walls. Other fiber cement brands exist, and some are reasonable products, but we've standardized our crews, our fastening specs, our warranty process, and our color program around one manufacturer so that every job we do is built the same correct way, with a single point of accountability if something ever needs to be addressed.
James Hardie fiber cement is non-combustible, doesn't support moss and mildew growth the way wood-based siding can, and comes with a factory-applied ColorPlus finish that's engineered to hold color and resist fading in coastal, UV-heavy conditions far longer than field-applied paint. Hardie's HZ5 product line in particular is engineered for climates with significant moisture exposure, which describes Bow and the rest of the Chuckanut area well. The company backs the product with a strong, transferable limited warranty — but that warranty depends on correct installation, which is exactly why the details above matter as much as the material choice itself.
Our Installation Process
- Assessment: We walk the home, check existing siding and sheathing condition where accessible, and look specifically at the sides most exposed to wind-driven rain and shade-driven moisture.
- Tear-off and inspection: Old siding comes off and we inspect the sheathing underneath for any hidden rot or moisture damage before anything new goes on — this is where problems that caused the original failure get caught and fixed, not covered up.
- Weather barrier and flashing: A new, continuous weather-resistive barrier goes on with correctly lapped and integrated flashing at every window, door, and penetration.
- Installation to spec: Hardie panels or lap siding go up following manufacturer fastening patterns, clearances, and joint treatment — not shortcuts that happen to look fine on day one.
- Trim, caulking, and final detailing: Trim is installed, joints are treated correctly (sealed where they should be, left to drain where they shouldn't), and the job is walked and checked against spec.
Cost Factors for a Bow Siding Installation
Every home is different, so we won't quote a number without seeing the house, but these are the main factors that move the price on a siding installation in this area:
| Factor | Why It Matters |
|---|---|
| Home size and wall complexity | More corners, gables, and dormers mean more cutting, flashing, and labor time |
| Condition of existing sheathing | Hidden moisture damage found during tear-off needs repair before new siding goes on |
| Siding profile chosen | Lap siding, panel siding, and shingle-style Hardie products differ in material and install time |
| Trim and detail work | Corner boards, window trim, and fascia detailing add labor beyond the flat wall area |
| Site access | Tight lots, slopes, and limited staging area near the water can affect scaffolding and setup time |
Choosing a Crew That Already Works This Area
A siding installer who mainly works drier, inland neighborhoods can still do competent work, but a crew that regularly installs in Bow and the wider Chuckanut area already knows to double up on flashing details at grade, pay extra attention to shaded north walls where moss takes hold fastest, and account for salt exposure in fastener and trim choices without having to relearn it on your house. That familiarity shows up less in the sales pitch and more in the details you won't see once the job is finished — which is exactly where siding failures start.
When vetting any contractor for a siding project, a few basics apply regardless of who you hire:
- Ask what weather-resistive barrier and flashing details they use, specifically — not just "we follow code"
- Confirm they're following the manufacturer's published fastening and clearance specs for the product you're buying
- Ask whether tear-off includes a sheathing inspection, and what happens if they find hidden damage
- Check that the warranty they describe is backed by the manufacturer, not just a verbal promise
- Get a clear scope in writing before work starts — profile, trim details, and color, not just a total price
Signs Your Bow Home May Need New Siding
- Visible cracking, warping, or soft spots, especially on shaded or north-facing walls
- Persistent moss or dark staining that keeps returning after cleaning
- Paint that's peeling or bubbling rather than just fading
- Soft or spongy areas near the base of walls, around windows, or below deck ledgers
- Visible gaps at seams, corners, or trim joints
- A musty smell or discoloration on interior walls that share an exterior wall with a rain-exposed side of the house
Let's Take a Look
If your Bow home's siding is showing its age or you're planning ahead of a problem, we're happy to come take a look and give you a straightforward, no-pressure assessment and estimate. Use the form below to get started.