 Chuckanut Exterior
 Building New in Columbia Means Getting the Windows Right the First Time
When you're framing a new home in the Columbia area of Chuckanut, the windows are one of the few components where a mistake doesn't show up right away — it shows up two or three winters later, as a stain under a sill or a soft spot in the sheathing. Whatcom County's mix of salt air off the water, driving rain that comes in sideways during winter storms, and a long moss season that keeps everything damp for months means a new-construction window opening has to be built correctly from the rough framing outward, not just have a good window dropped into it.
This page is specifically about new-construction window installs for homes going up in Columbia — not window replacement in an existing house, which is a different job with different flashing and trim details. If you're building new, this is the work that determines whether your windows perform for the next 20-30 years or start giving you trouble in five.
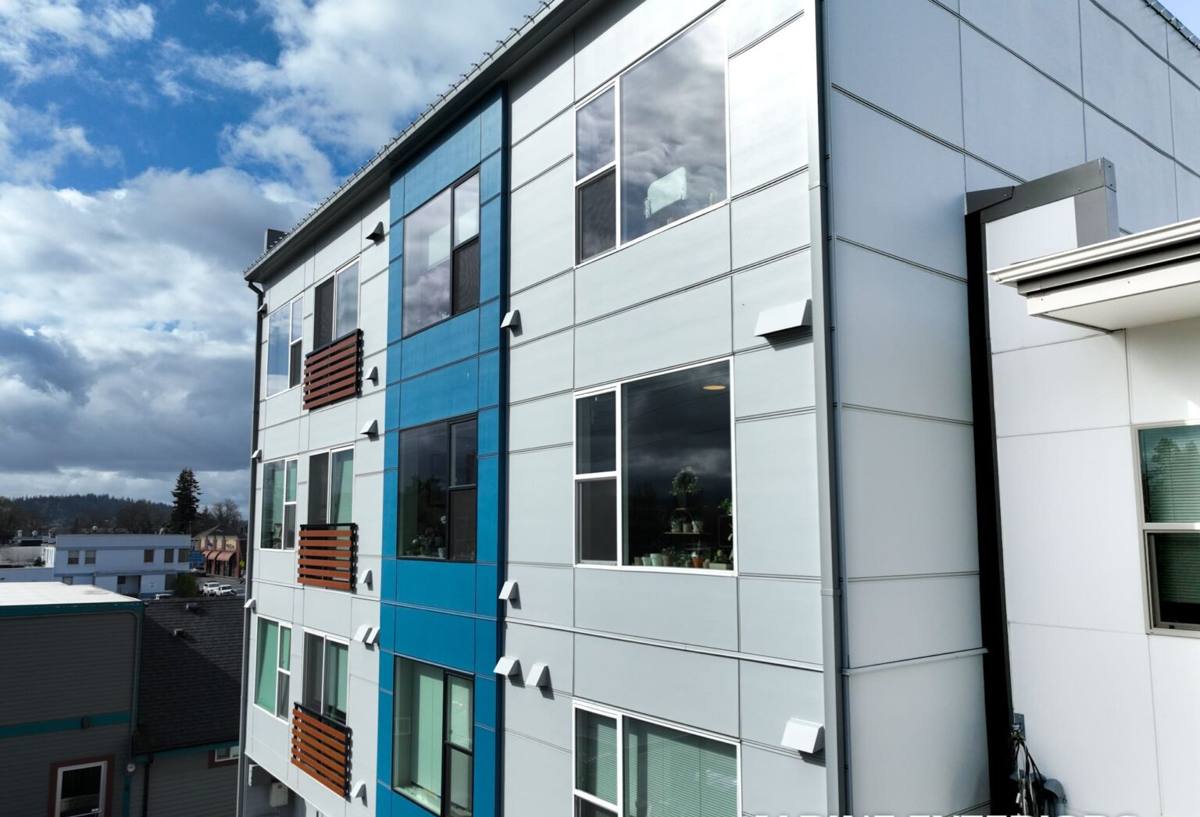
New-Construction vs. Replacement: Why the Distinction Matters
New-construction windows are installed before the siding goes on, while the wall is still open to the studs and the weather-resistant barrier (WRB) is exposed. That gives us full access to integrate the window flashing directly into the wall's drainage plane — something you can't do on a finished house without tearing into the siding.
Nail Fin vs. Block Frame
Most new-construction windows use a nail fin (also called a flange) around the perimeter that gets fastened to the sheathing and then flashed over. Some heavier commercial-style or clad-wood windows use a block frame set into the rough opening instead, anchored through the jambs. Which one is right depends on your wall assembly, siding type, and the window line your builder or architect has specified. We work with both, but the flashing sequence differs between them, and that's where a lot of installation mistakes happen on new builds.
Getting the Envelope Right: Flashing Before Framing
In a climate that sees as much driving rain as Whatcom County does, the window opening is only as good as the flashing behind it. Water doesn't need a big gap to get in — a missed shingle-lap on the flashing tape or a sill pan installed backward is enough to feed moisture into the wall cavity for years before anyone notices.
Rough Opening Prep
Before a window ever goes in, we check that the rough opening is square, level, and sized correctly with the right shim gap. We also confirm the WRB is lapped correctly above the opening so water sheds down and over, not behind, the housewrap.
Sill Pan and Flashing Sequence
Every new-construction install we do starts with a sloped sill pan — either a manufactured pan flashing or a properly built-up sloped pan — so any water that does get past the window has a path back out, not a place to pool. From there, the sequence goes sill, then jambs, then head flashing, each piece lapping over the one below it, shingle-style, so gravity is always working with the assembly instead of against it. This is standard practice, but on a job site with a lot of trades moving fast, it's also the step most often rushed or skipped. We don't skip it.
Choosing Frame Material for a Salt Air, High-Moisture Site
Columbia's proximity to the water means salt-laden air is a real factor in how fast hardware corrodes, finishes chalk, and seals fatigue. Frame material choice matters more here than it would on a new build further inland.
| Frame Type | Salt Air / Coastal Exposure | Moisture & Moss Season | Maintenance |
|---|---|---|---|
| Vinyl | Good — won't corrode or pit | Good — doesn't absorb moisture | Low; occasional cleaning of tracks and weep holes |
| Fiberglass | Very good — dimensionally stable, resists salt exposure well | Very good — low expansion/contraction | Low; holds paint or factory finish well over time |
| Aluminum-clad wood | Fair — depends on cladding quality and joint sealing | Fair — wood core needs the cladding to stay sealed | Moderate; watch cladding seams and touch up as needed |
| Bare wood | Requires diligent upkeep near salt air | Needs regular refinishing to resist moss/mildew staining | High; not our default recommendation for this exposure |
We're not against wood windows on principle — they have a place, and clad-wood is a reasonable middle ground when the design calls for it. But on a coastal Whatcom County lot, we steer clients toward vinyl or fiberglass as the lower-maintenance, longer-performing choice unless there's a strong design reason to go another direction. That's a maintenance and moisture-behavior call, not a knock on any manufacturer.
Glass and Hardware Choices That Matter Locally
For a new build in this area, we typically talk clients through a few glass and hardware decisions that have a real local payoff:
- Low-E, argon-filled double or triple pane glass for the region's cool, wet winters and mild summers
- Corrosion-resistant hardware (stainless or coated) on any elevation facing the water or prevailing wind
- Weep hole placement and size that won't clog easily with wind-blown debris or moss spores
- Sill design with enough slope and overhang to shed standing water quickly during long rain events
None of these are exotic upgrades — they're standard options on most quality window lines. The point is choosing them deliberately for this site instead of defaulting to whatever's cheapest to stock.
Our Process for New-Construction Window Installs in Columbia
- Review the plans and window schedule with your builder or GC before framing is finalized, to catch any rough opening sizing issues early
- Inspect the rough openings and WRB once framing is up, before we schedule the install
- Install sill pans and flash each opening in the correct shingle-lap sequence
- Set and shim windows plumb, level, and square, with fasteners per manufacturer spec
- Insulate and air-seal the perimeter gap so the opening isn't a thermal or moisture bypass
- Photo-document flashing and sealant details at each opening before siding covers them up
- Final walkthrough with operation check on every window before we leave the site
That documentation step matters more than it sounds like it should. Once siding goes on, nobody can see the flashing behind it — including us, on a warranty call years later. Having a record of what's behind the wall saves everyone time if a question ever comes up.
Coordinating With Your Builder or General Contractor
New-construction window work doesn't happen in isolation — it sits between the framer and the siding crew, and timing matters. Windows going in too early (before the WRB is properly lapped) or too late (holding up siding and interior trim) both create problems. We're used to working on a GC's schedule, showing up when the opening is ready and not before, and communicating clearly if something in the framing needs to be corrected before we can flash and set a window. If you're the homeowner acting as your own GC, we can walk you through what needs to happen in what order.
What Moss Season Does to a New Build's Windows Over Time
Whatcom County's long stretch of damp, shaded, moss-friendly weather doesn't just affect roofs. Moss and algae can take hold on north-facing sills, in track corners, and along any horizontal trim that stays wet for extended periods. A new-construction install that gets the sill slope, drip cap, and trim details right gives moss less to hold onto. Beyond that, a bit of routine upkeep goes a long way:
- Clear debris and moss from window sills and tracks each fall before the wet season sets in
- Keep weep holes open so water can drain out instead of sitting against the frame
- Rinse salt residue off frames and glass periodically if the home has direct water exposure
- Check exterior caulking at the trim-to-siding joint annually and touch up before gaps widen
- Trim back vegetation that shades windows and keeps them damp longer than necessary
Why a Crew That Already Works Columbia Makes a Difference
Flashing details, frame material, and glass packages all matter — but so does knowing how a specific site behaves. A crew that's worked new builds around Columbia and the broader Chuckanut area has already seen how wind-driven rain hits certain elevations, which lots sit in enough shade to grow moss fast, and how salt exposure varies depending on how close and how exposed a site is to the water. That local pattern recognition is the difference between a generic install and one that's actually built for the lot it's on. It's also why we can talk through trade-offs specific to your build rather than reciting a manufacturer's brochure.
Cost Factors for New-Construction Window Installs
We don't quote pricing sight-unseen, since new-construction costs depend heavily on window count, size, frame material, and how the job fits into your builder's schedule. But the factors that move the number are consistent:
| Factor | Why It Affects Cost |
|---|---|
| Frame material | Vinyl is typically the most economical; fiberglass and clad-wood cost more upfront but often less to maintain |
| Window count and size | More openings and larger units mean more labor and material per house |
| Glass package | Upgraded Low-E coatings, triple pane, or tempered/safety glass at required locations add cost |
| Site exposure | Coastal or highly exposed elevations may warrant upgraded hardware and flashing details |
| Scheduling | Coordinating tightly with a framing and siding schedule is more efficient than piecemeal callbacks |
We're glad to walk through your plans and window schedule and give you a straightforward estimate once we know the specifics of your build.
Ready to Talk Through Your New Build's Windows?
If you're framing a new home in the Columbia area and want a crew that treats the flashing and envelope details as seriously as the windows themselves, we're happy to take a look at your plans. Reach out for a free, no-pressure estimate using the form below — there's no obligation, and we're glad to answer questions about your specific site before you're locked into a window schedule.