 Chuckanut Exterior
 New-Construction Windows in Sehome: What This Job Actually Is
New-construction window installation is a different job from window replacement, even though both put glass in a wall. On a replacement, we're working with an existing rough opening, existing siding, and an existing water-management system that's already been living with the weather for years. On new construction, we're building that water-management system from scratch — the window is one layer in a system that includes the rough opening, the weather-resistant barrier (WRB), flashing tapes or metal flashing, and the sill pan underneath. Get any one of those layers wrong and the window itself, no matter how good it is, won't matter.
For homes going up in Sehome, we treat new-construction window work as a sequencing job as much as an installation job. The window has to go in at the right point in the framing schedule, integrate correctly with whatever WRB the builder is using, and be sealed in a way that sheds water down and out — not in.
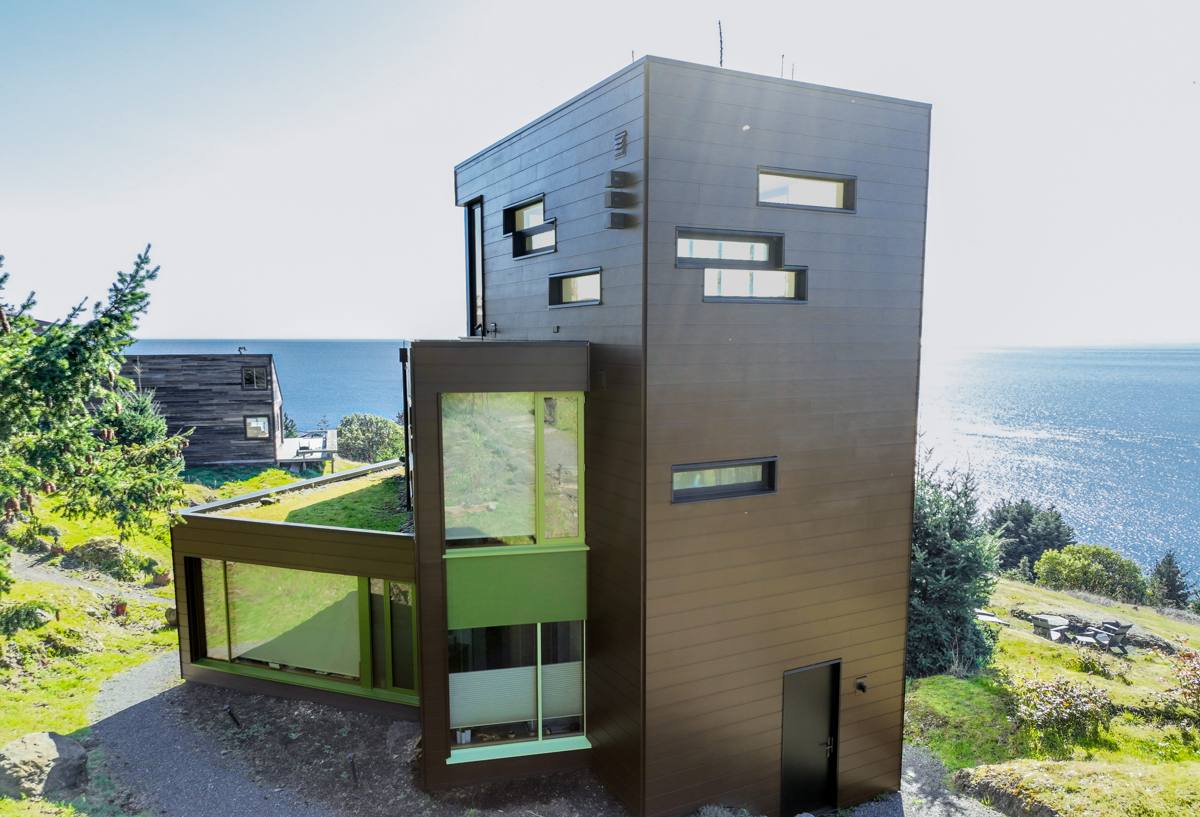
Why Whatcom County's Climate Changes the Calculus
Sehome sits close enough to the water and under enough marine cloud cover that homes here deal with a combination most inland builders never have to plan for: salt-laden air, long stretches of driving, wind-pushed rain, and a moss season that runs most of the year. None of that is dramatic on any single day, but it's relentless over a 20 or 30-year window lifespan.
- Salt air accelerates corrosion on exposed fasteners, cheap flashing metal, and unprotected hardware.
- Driving rain means wind can push water sideways and upward against a wall, so flat-plane sealing isn't enough — the assembly needs true shingle-style drainage.
- Long wet seasons keep sills and sashes damp for extended periods, which is exactly the condition that lets rot and mold get a foothold if the sill pan or drainage plane is wrong.
- Moss and algae growth on north-facing and shaded elevations holds moisture against trim and cladding longer than a homeowner might expect, which is part of why detailing at the window perimeter matters as much as the window itself.
None of this means a home in Sehome needs exotic materials. It means the installation details — the parts nobody sees once the siding goes on — have to be right the first time, because they're expensive to fix later.
What a Correct Installation Involves
A properly installed new-construction window follows water-shedding order from the ground up. Skipping steps or doing them out of sequence is the single most common cause of window-related water intrusion we get called out to diagnose in homes that are only a few years old.
Sill Pan First
Before the window ever goes in, the rough sill needs a sloped, sealed pan — either a manufactured flexible flashing pan or a built-up sloped sill — so that any water that does get past the window has somewhere to go besides the framing. This is the step most often skipped on production builds, and it's the one that causes the most damage over time because it's invisible once the window is set.
Flashing Integration with the WRB
Flashing tape or metal at the jambs and head needs to overlap the WRB in true shingle fashion — each layer lapping over the one below it — so water always drains outward over the building paper or house wrap rather than behind it. The head flashing is the layer most often installed backward or left out entirely under time pressure.
Nailing Fin and Fastening
The window's nailing fin needs full, even contact with the sheathing and fasteners at the manufacturer's specified spacing — not just at the corners. Gaps here let the frame flex, which breaks the seal at the sealant joints over time.
Backer Rod and Sealant, Not Just Caulk
Interior and exterior sealant joints need proper backer rod behind them so the sealant forms a flexible bead instead of a thin skin that cracks with the first seasonal temperature swing.
Insulation Without Overpacking
The gap between the rough opening and the window frame gets low-expansion foam or backer rod and insulation — packed too tight, it can bow the frame and cause the sashes to bind.
Window Types That Hold Up in This Climate
Material choice matters less than installation quality, but it's still worth choosing right. Here's how the common options compare for a coastal Whatcom County build:
| Material | Salt Air / Corrosion | Moisture Behavior | Maintenance |
|---|---|---|---|
| Vinyl | Good — no metal corrosion risk | Doesn't absorb water; drains cleanly if installed correctly | Low; occasional cleaning |
| Fiberglass | Very good — dimensionally stable, minimal hardware exposure | Excellent; resists warping across wet/dry cycles | Low |
| Wood-clad | Fair — depends on cladding integrity at joints | Good if cladding stays sealed; wood core is vulnerable if breached | Higher; watch cladding seams and sills |
| Aluminum | Fair to poor without marine-grade finish — prone to pitting near salt air | Conducts cold and can condense; needs thermal break | Moderate; finish maintenance over time |
We don't push one brand over another as a blanket rule — the right call depends on the home's design, budget, and elevation exposure. What we do hold as a professional standard is avoiding assemblies where the cladding or finish can't be inspected or resealed at the joints, because in a wet climate like this one, a system you can't maintain is a system that eventually fails quietly.
Our Process, From Rough Opening to Final Trim
- Rough opening check — confirm size, plumb, level, and square before the window arrives on site.
- Sill pan installation — sloped and sealed, tested for drainage before the window is set.
- Window set and fasten — shimmed for level and square, fastened per manufacturer spacing.
- Flashing integration — jambs and head flashed in proper shingle-lap order with the WRB.
- Interior air seal — low-expansion foam or backer rod, no overpacking.
- Exterior sealant — backer rod plus a proper sealant bead at the trim or cladding transition.
- Photo documentation before the siding or trim covers the flashing, so there's a record of what's behind the wall.
- Final walkthrough — operation check on every sash, hardware function, and a visual seal check.
Working With Your Builder or GC
New-construction window work almost always means coordinating with a general contractor's schedule rather than working independently in a homeowner's finished house. That changes how the job runs: we need the rough openings framed correctly before we show up, we need to know which WRB and flashing tape the builder has specified so our materials are compatible, and we need to be scheduled at the right window in the build — after sheathing and WRB, before siding closes it all in. Showing up out of sequence is how corners get cut, so we coordinate directly with the builder's timeline rather than working around it after the fact.
Common Mistakes We See in New-Construction Window Installs
Most of the water intrusion problems we're called to diagnose in newer Sehome homes trace back to a short list of avoidable errors:
- No sill pan, or a flat sill pan that doesn't slope water outward
- Head flashing installed under the WRB instead of over it, reversing the drainage order
- Caulk used as the only seal, with no backer rod behind it
- Nailing fin fastened only at the corners instead of full perimeter spacing
- Foam insulation packed so tight it bows the frame and causes sash binding
- No photo record of the flashing before siding covers it, making later diagnosis guesswork
Why a Crew That Already Works in Sehome Matters
Window installation standards are the same on paper everywhere, but the judgment calls change with the site. A crew that's worked new construction across Whatcom County knows which elevations in Sehome take the worst of the driving rain, how much lap and overlap to build in for the wetter months, and where moss and shaded siding tend to hold moisture longest — so those areas get extra attention at the flashing and sealant joints rather than the standard minimum. That local pattern recognition is the difference between a window install that's technically compliant and one that's actually built for this climate.
What to Expect on Maintenance After Move-In
A correctly installed new-construction window shouldn't need attention for years, but a few habits extend that further in this climate. Keep weep holes and drainage tracks clear of debris and moss buildup, especially on shaded or north-facing walls. Have exterior sealant joints checked every few years, since sealant is a maintenance item on any building regardless of window quality — it's the first line of defense, not the only one. And if you ever notice staining, soft trim, or a window that's suddenly harder to operate, treat it as worth a look sooner rather than later, since in a wet climate small issues at a window opening don't stay small.
If you're building or framing a home in Sehome and want the window package done right the first time, we're happy to walk the plans with you and give you a straightforward, no-pressure estimate — just fill out the form below.