 Chuckanut Exterior
 Why Mount Vernon Siding Takes a Different Kind of Beating
Homes around Mount Vernon sit in a stretch of the Pacific Northwest where the weather doesn't take a season off. Salt-tinged air moves in off the water, driving rain comes sideways for weeks at a stretch in the fall and winter, and the shaded, damp corners of a lot — especially under mature trees — turn into a long moss season that can run from early fall well into spring. None of that is unusual for this region, but it's exactly the combination that wears siding down faster than most homeowners expect.
Salt air is corrosive to fasteners and trim metal, and it accelerates the breakdown of paint films and caulk long before they'd normally fail. Driving rain finds every gap, seam, and nail hole that isn't sealed correctly, and it doesn't take much of a crack for water to start working its way behind the siding instead of running off the face of it. Moss and algae hold moisture against the surface for days at a time, which is a problem for almost every siding material except one engineered specifically to resist it. Put those three things together year after year, and you get siding that looks fine from the street but is quietly failing underneath.
That's the environment we repair siding in every week. A repair approach that works in a dry climate, or even in a milder part of the state, often isn't enough here. Doing it right in Mount Vernon means understanding how water actually moves through a wall system in this climate, not just patching what's visible.
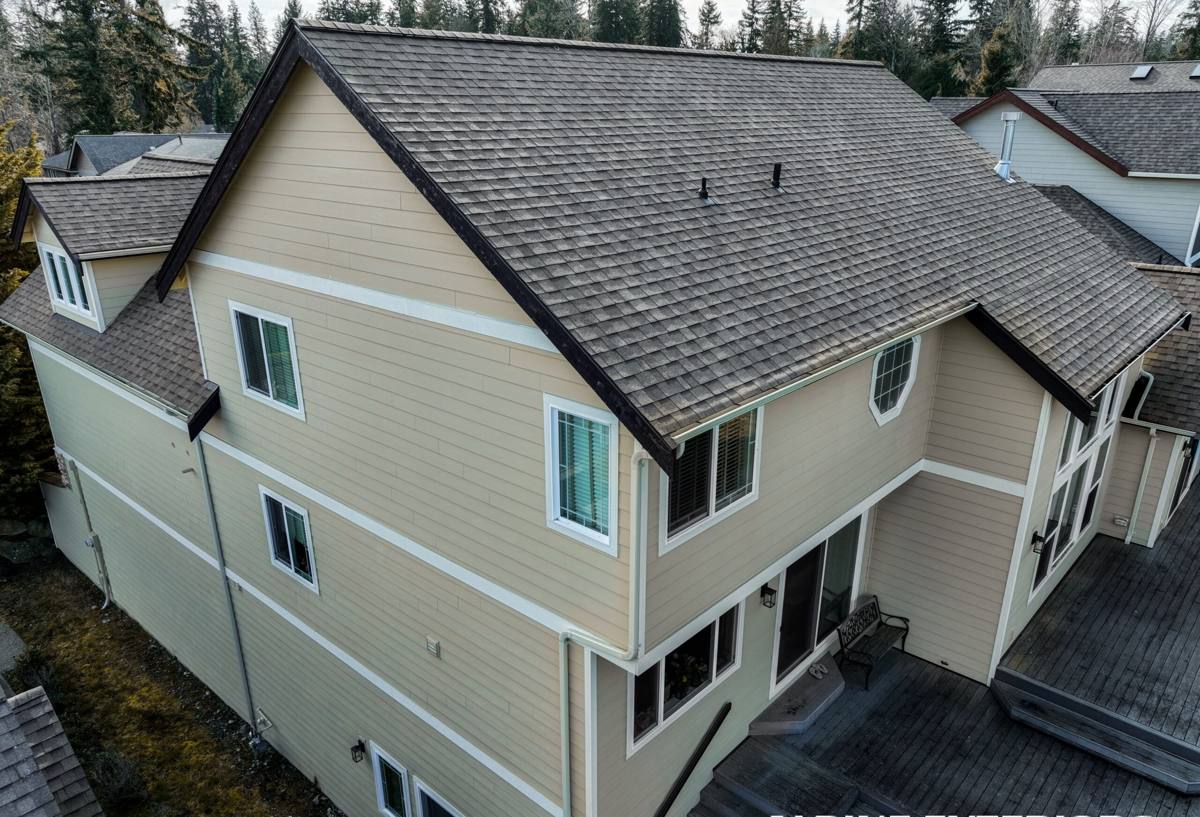
Recognizing When Siding Needs Repair
Most siding problems don't announce themselves. They show up as small, easy-to-dismiss signs long before anything looks obviously broken. Homeowners who catch these early save real money, because a board-level repair is a fraction of the cost of fixing rot that's spread into the wall framing.
- Paint that's peeling, bubbling, or chalking in the same spots year after year
- Soft or spongy siding when you press on it, especially near the bottom courses or window trim
- Visible cracking, splitting, or buckling in individual boards or panels
- Dark staining or streaking that keeps returning after cleaning
- Gaps opening up at seams, corners, or where siding meets trim and flashing
- Persistent moss or algae growth in shaded or north-facing sections
- A musty smell or visible staining on interior walls that back up to exterior siding
Cosmetic Wear vs. Structural Damage
Not every flaw means the same thing. Faded color or light surface chalking is usually cosmetic and doesn't require repair on its own. Soft boards, staining that keeps coming back in the same spot, or gaps that let daylight or drafts through are different — those point to water getting behind the material, which is a structural concern even if the outside still looks mostly intact. The distinction matters because treating a structural problem as a cosmetic one just buys time before the repair gets bigger and more expensive.
What a Correct Repair Actually Involves
A repair that only addresses what's visible from the ground is not a complete repair — it's a temporary cover-up. Correct siding repair starts with figuring out why the damage happened in the first place, not just replacing the board that shows it.
Diagnosing the Real Problem
Before any siding comes off, we look at the whole picture: where water is likely entering, whether flashing above windows and doors is doing its job, whether the weather-resistive barrier behind the siding is intact, and whether the damage is isolated or has traveled along a seam or corner. In a lot of cases, the board that looks the worst isn't the point where water got in — it's just where it pooled. Skipping this step is the single most common reason siding repairs fail again within a year or two.
Doing the Repair Right
Once we know what we're dealing with, the work generally follows the same sequence: remove the damaged material back to sound wood or sheathing, inspect and repair the barrier and framing underneath if needed, correct any flashing or drainage issue that caused the failure, install matching replacement material with proper fastening and clearances, and finish with correctly sealed joints and color-matched paint or factory finish. Skipping the underlying fix and just swapping a board is faster, but it guarantees the same failure returns.
Repair or Replace? How We Make the Call
Not every siding problem calls for full replacement, and not every problem should be patched. We walk homeowners through the actual factors rather than defaulting to whichever answer is more profitable for us.
| Factor | Points Toward Repair | Points Toward Replacement |
|---|---|---|
| Extent of damage | Isolated to a few boards or one section | Spread across multiple walls or elevations |
| Moisture intrusion | Caught early, framing still sound | Rot has reached studs or sheathing |
| Age of existing siding | Mid-life, otherwise in good condition | Near or past its expected service life |
| Material match | Replacement material still available and matchable | Discontinued profile, color, or product line |
| Recurrence | First occurrence, clear isolated cause | Repeated failures in the same or nearby areas |
When damage is contained and the underlying cause is fixable, a targeted repair is the honest recommendation — there's no reason to sell a homeowner a full re-side they don't need. When the damage is a symptom of a wider, chronic problem, we'll say so plainly and explain why patching it again would just be spending money to delay the same outcome.
Our Repair Process, Start to Finish
Homeowners generally want to know two things before they commit to a repair: what we're actually going to do, and what it's going to look like when we're done. Here's how a typical repair moves from first contact to finished work.
- On-site inspection. We look at the damaged area and the surrounding siding, check for moisture behind the surface where accessible, and identify the likely cause.
- Written scope and estimate. You get a clear explanation of what's being repaired, why, and what it involves — not just a number.
- Material matching. We source replacement siding, trim, and fasteners that match the existing material and finish as closely as possible.
- Removal and inspection. Damaged material comes off, and we check the barrier and framing underneath before closing anything back up.
- Correction of the root cause. Flashing, sealant, or drainage issues get fixed as part of the repair, not left for next time.
- Installation and finishing. New material goes in to manufacturer spec, seams and joints are sealed correctly, and finish work is matched to the surrounding siding.
- Cleanup and walkthrough. We clear debris and walk the repair with you before calling the job done.
Why We Only Work in James Hardie Fiber Cement
We install and repair James Hardie fiber cement siding exclusively — we don't install vinyl, LP SmartSide, Cemplank, Allura, or primed wood siding, and we're upfront with homeowners about why. Fiber cement doesn't absorb water the way wood-based products can, it's non-combustible, and Hardie's ColorPlus factory finish is baked on under controlled conditions rather than field-applied, which matters a lot in a climate where paint film life is already shortened by salt air and constant moisture. Hardie also makes climate-engineered HZ product lines built specifically for wet, humid regions like this one, backed by a strong transferable warranty when the product is installed to spec.
That standard shapes how we approach repairs too. When the existing siding on a home is already James Hardie, matching material and finish is straightforward, and a proper repair holds up the same way the original installation does. When a home has vinyl, LP SmartSide, or another product we don't install, we'll still give you an honest assessment of the repair and what its realistic lifespan looks like — but we'll also be direct if that product's own maintenance burden or moisture sensitivity means a patch is only a short-term fix. We'd rather tell you that upfront than let you find out the hard way.
Why Local Experience in Mount Vernon Matters
Siding repair isn't one-size-fits-all, and a crew that only works from a spec sheet misses details that matter on the ground. Working regularly in and around Mount Vernon means we've seen how homes here actually age — where moss builds up fastest on shaded, tree-covered lots, which elevations take the worst of the driving rain, and how salt air affects fasteners and trim differently than it does forty miles inland. That local pattern recognition shortens the diagnosis step and helps us catch causes that a generic inspection might miss.
It also means faster response and fewer surprises. We're not learning the regional climate on your project — we already know what a wall assembly in this area typically looks like behind the siding, what tends to fail first, and what a correct repair needs to hold up through another wet season rather than just through the next dry spell.
Protecting Repaired Siding Through the Next Wet Season
A correct repair should last, but a little seasonal attention keeps it — and the rest of your siding — from needing attention again too soon. This is the same short checklist we walk homeowners through after finishing a repair.
- Keep gutters and downspouts clear so water isn't overflowing onto siding below
- Trim back tree branches and shrubs that keep siding shaded and damp
- Rinse moss and algae off siding gently once or twice a year, especially on shaded walls
- Check caulking at trim, corners, and penetrations annually and re-seal where it's cracked or gapped
- Walk the exterior after major storms and note any new staining, gaps, or soft spots early
- Repaint or refinish promptly if paint film starts failing, rather than waiting for it to expose bare material
None of this takes much time, but skipping it is how small, cheap fixes turn into expensive ones a few years down the road.
If you're seeing staining, soft spots, or recurring damage on your Mount Vernon home, we're happy to take a look and give you a straight answer about what's actually going on — no pressure, no upsell. Fill out the form below for a free estimate and honest assessment of what your siding needs.