 Chuckanut Exterior
 Fairhaven's Windows Work Harder Than Most
Homes near Fairhaven and the Chuckanut area sit close enough to Bellingham Bay and the Salish Sea that salt-laden air is a daily fact of life, not an occasional event. Add in Whatcom County's long wet season, wind-driven rain off the water, and the moss and algae growth that comes with months of shade and moisture, and you have an environment that pushes window materials and seals harder than a typical inland installation ever sees. A window that performs fine in a drier part of the state can fail early here if it wasn't specified or installed with this climate in mind.
That's not a scare story — it's just the maintenance reality of building near the water in the Pacific Northwest. The fix isn't complicated, but it does require paying attention to details that get skipped on cheaper jobs: the right frame material, correct flashing sequence, and sealants rated for constant moisture cycling rather than occasional exposure.
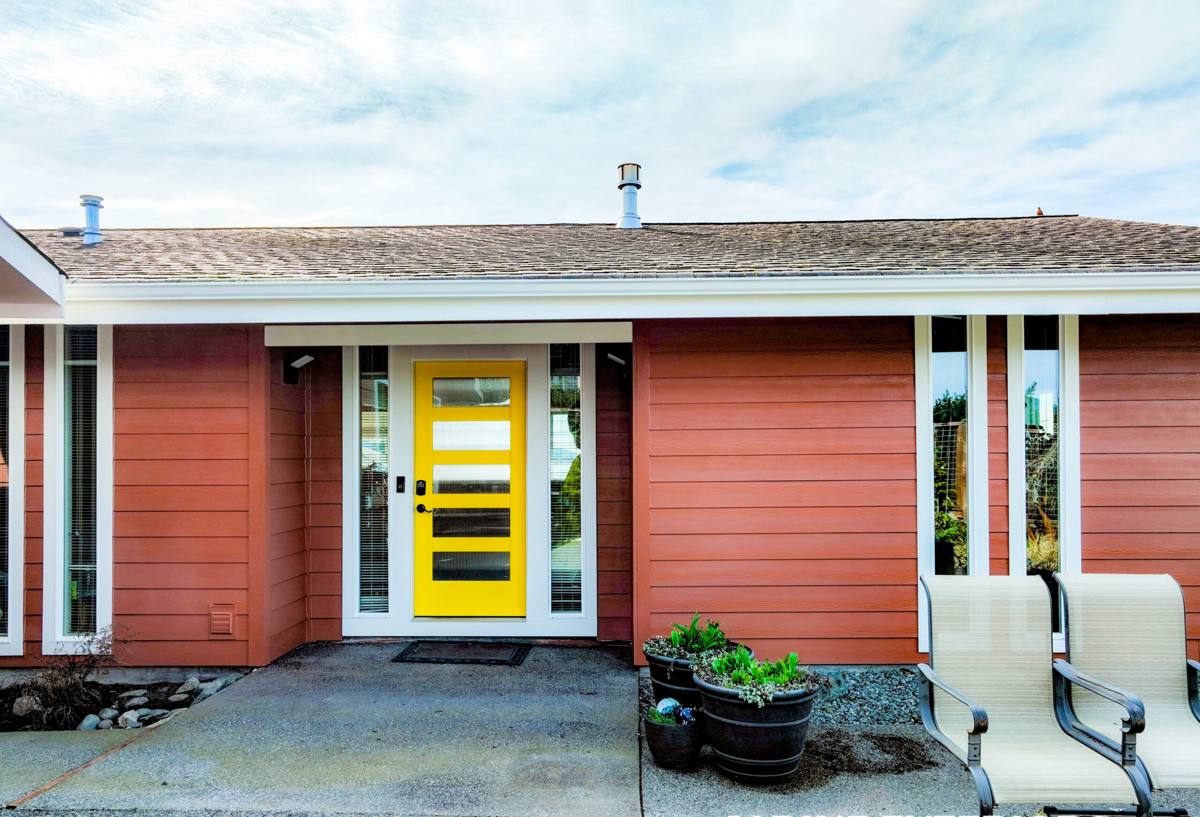
How Salt Air, Rain, and Moss Actually Damage Windows
Each of these factors attacks a window in a different way, and understanding the mechanism helps explain why certain fixes matter more here than elsewhere.
Salt Air
Airborne salt is corrosive to exposed metal hardware — hinges, locks, balance systems, and screws — and it accelerates the breakdown of some finishes over time. It also settles into window tracks and weep holes, where it can combine with moisture and gradually clog drainage paths that are supposed to let water escape.
Driving Rain
Wind off the water doesn't just fall on a window, it pushes water sideways and upward against the frame and siding intersection. A window installed with only basic caulk and no proper flashing can look fine for a year or two and then start leaking during the first real storm that hits at the wrong angle.
Moss and Algae Season
Extended shade, humidity, and a long wet season let moss and algae take hold on siding, trim, and window sills. Beyond the cosmetic issue, moss holds moisture against wood trim and painted surfaces far longer than open air would, which speeds up rot at the sill and the lower corners of a window opening — often the first place a window installation fails.
Signs Your Current Windows Are Losing the Fight
- Soft or discolored wood trim at the sill or bottom corners of the window frame
- Fogging or moisture trapped between panes of double-pane glass (a failed seal)
- Drafts you can feel near the frame even when the window is fully latched
- Difficulty opening, closing, or locking a window that used to operate smoothly
- Visible gaps, cracked caulk, or peeling paint around the exterior frame
- Persistent moss or dark streaking building up on the sill or lower siding below a window
- Noticeably higher heating bills in a room with older or original windows
Any one of these on its own might just mean a small repair. Several of them together, especially on the weather-facing side of the house, usually mean the window and the opening around it need a real installation, not a patch.
What a Correct Window Installation Actually Involves
A window installation is really an assembly of several trades done in the right order. Skipping or shortcutting any one step is where most leaks and premature failures start.
Opening Inspection and Prep
Before a new window goes in, the rough opening gets inspected for rot, soft framing, or old flashing that failed. In a marine climate like this one, we treat this step as mandatory rather than optional — it's common to find some degree of sill or framing damage on older homes that have never had the window removed.
Flashing and Water Management
Proper flashing directs any water that gets past the exterior cladding back out, rather than letting it collect inside the wall. This includes sill pan flashing at the bottom of the opening, side flashing, and head flashing integrated with the house wrap or building paper above the window — installed shingle-style so each layer overlaps the one below it.
Setting and Sealing the Window
The window unit itself gets shimmed level and plumb, fastened per the manufacturer's schedule, and insulated around the frame with a material that won't compress or lose its seal over time. Exterior sealant goes on last, at the joints designed to be sealed — not as a substitute for proper flashing underneath.
Interior and Exterior Finish
Trim, casing, and paint or caulk lines get finished cleanly on both sides, and the sill area gets sloped and sealed so water is directed away from the house rather than pooling against the frame.
Choosing a Window Material for This Climate
Frame material matters more here than in a drier climate, because the frame is what's absorbing the salt air and moisture cycling year-round. There's no single "best" answer for every home — it depends on your siding, budget, and how much upkeep you want to do.
| Frame Material | Coastal Performance | Maintenance | Typical Trade-Off |
|---|---|---|---|
| Vinyl | Good — won't rust or corrode, handles moisture well | Low — occasional cleaning | Limited color/finish options; can look less traditional on older homes |
| Fiberglass | Very good — dimensionally stable, resists corrosion and moisture swelling | Low | Higher upfront cost than vinyl |
| Wood (clad exterior) | Good if the exterior cladding is intact and well-sealed | Higher — exposed or damaged wood needs prompt attention in this climate | Best look for period homes; more sensitive to installation quality |
| Aluminum | Fair — durable but a poor insulator and prone to condensation | Moderate — hardware and finish need periodic attention | Thinner sightlines; less common in new residential installs here |
We don't push one brand or material on every job. Our standard is to match the frame material to your siding type, sun and rain exposure, and how much long-term maintenance you're realistically going to keep up with — and to be upfront about the trade-offs rather than oversell any one option.
Our Installation Process
- On-site assessment — we look at your existing windows, the condition of the openings, and how exposed each side of the house is to wind-driven rain and salt air.
- Straightforward estimate — a clear breakdown of window units, labor, and any framing or trim repair we expect to find once we open things up.
- Scheduling around weather — window openings are exposed to the elements during the swap, so we plan installs around forecasts rather than rushing through a storm window.
- Removal and opening inspection — old units come out carefully so we can check the framing underneath before anything new goes in.
- Flashing, setting, and sealing — done in the sequence described above, not skipped or compressed to save time.
- Interior and exterior finish work — trim, paint lines, and caulking finished to match the rest of the house.
- Final walkthrough — every window is opened, closed, and locked in front of you before we call the job done.
Full-Frame Replacement vs. Insert Replacement — What Drives Cost
Two homeowners with the same number of windows can end up with very different quotes, and it usually comes down to a handful of factors rather than the brand of glass.
| Cost Factor | Why It Matters |
|---|---|
| Insert vs. full-frame replacement | An insert reuses the existing frame and is faster and cheaper; full-frame is required when the old frame or sill is damaged, common in older coastal homes |
| Rot or framing repair | Sill and framing damage from long-term moisture exposure adds carpentry time before the new window can go in |
| Window size and type | Larger units, custom shapes, or operable styles (casement, sliders) cost more than standard fixed or single-hung sizes |
| Glass package | Low-E coatings and gas-filled panes add cost but improve insulation and reduce interior condensation |
| Siding tie-in | Matching new flashing and trim into existing siding cleanly takes more time on some siding types than others |
| Number of openings | Doing multiple windows in one visit typically costs less per window than one-off replacements |
We'd rather walk you through these factors on-site than throw out a number over the phone that doesn't hold up once we see the actual condition of your windows.
Why a Crew That Already Works Fairhaven Matters
Window installation isn't a one-size-fits-all trade, and the details that matter change with the environment. A crew that regularly works homes in and around Fairhaven and the broader Chuckanut area already knows what to look for: where sills tend to fail first, how much flashing detail this climate really needs versus a drier region, and which materials hold up under this level of salt exposure and rain over the years. That familiarity shows up in fewer surprises during the job and fewer callbacks after it. It also means we're not guessing at how a house near the water behaves — we've seen the pattern of wear on enough of them to know what's cosmetic and what's structural.
Maintenance Checklist for Coastal Whatcom County Windows
- Rinse salt residue off frames and hardware a few times a year, especially after storms
- Clear moss and debris from sills and tracks before it holds moisture against the frame
- Check exterior caulk lines annually and re-seal any cracked or separated joints promptly
- Test locks and hardware seasonally — stiff or corroded hardware is often an early warning sign
- Keep gutters and downspouts clear so roof runoff isn't dumping extra water near window heads
- Inspect interior sills for soft spots or discoloration, which can indicate a seal has already failed
None of this replaces a proper installation — good maintenance just protects the investment once it's in.
Let's Take a Look at Your Windows
If your windows are original to the house, showing signs of wear, or you're just planning ahead before the next stretch of storms rolls in off the water, we're happy to come take a look. The estimate is free, there's no pressure, and you'll get a straight answer about what your home actually needs — whether that's a full window installation or something smaller. Use the form below to get started.