 Chuckanut Exterior
 Why Burlington Siding Takes a Different Kind of Beating
Homes in and around Burlington sit close enough to the Salish Sea that salt-laden air is a constant, low-grade stressor on exterior materials. Salt accelerates corrosion on fasteners, trim flashing, and any metal components tucked behind or under siding boards. Combine that with the driving rain that comes through this part of Whatcom County during fall and winter storms, and you get moisture pushed sideways into seams, laps, and trim joints that were never designed to handle water hitting them head-on.
Then there's the moss. This region's wet season runs long — often six months or more of steady dampness — and moss doesn't need much of a foothold to take over a north-facing wall or a shaded section near landscaping. Moss holds moisture directly against the siding surface for weeks at a time, which is a very different exposure than a quick rain shower that dries out by afternoon. Over years, that sustained dampness is what turns a cosmetic siding issue into a structural one.
None of this means Burlington homes need constant repair. It means the repairs they do need have to account for what's actually causing the damage, not just patch what's visible on the surface.
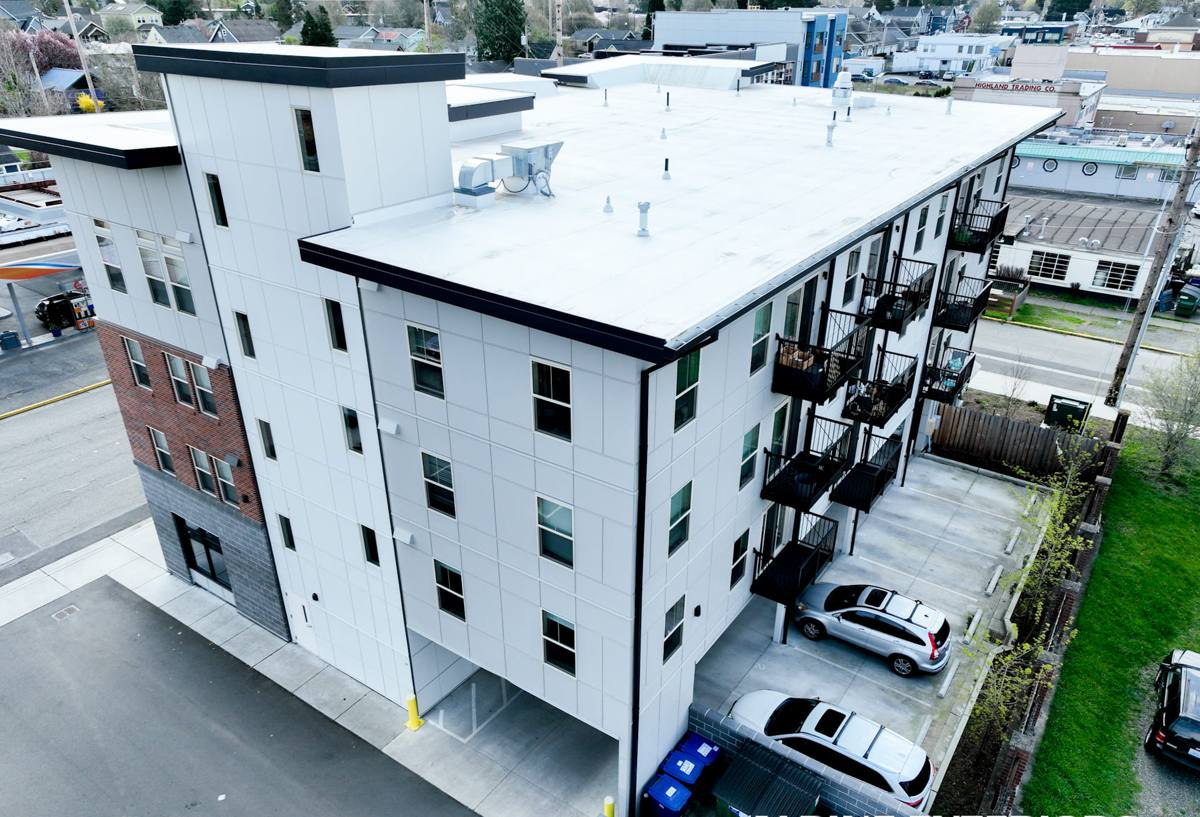
Signs Your Burlington Home Needs Siding Repair
Some damage is obvious. Some hides in plain sight for years because it doesn't look urgent. Here's what we tell homeowners to watch for between now and their next full exterior walk-around:
- Soft or spongy spots when you press on a siding board, especially near the bottom courses or under windows
- Paint that's bubbling, peeling, or alligatoring in a localized area rather than across the whole wall
- Dark streaking or staining running down from a seam, corner, or trim piece
- Moss or algae holding on in the same spot every year, even after cleaning
- Cracked, chipped, or delaminating boards, particularly on older wood-based or engineered wood siding
- Gaps opening up at trim edges, corner boards, or where siding meets window and door casings
- Visible nail pops or fasteners backing out of the surface
- A musty smell near an exterior wall on the inside of the house, which often points to moisture already past the siding
Any one of these on its own might be minor. Two or three showing up in the same area is usually a sign the water-resistive layer behind the siding has been compromised, and that's worth a proper look before it spreads.
What a Correct Repair Actually Involves
Finding the Real Cause, Not Just the Symptom
Siding repair done right starts with figuring out why the damage happened in that specific spot. A cracked board under a downspout is a different problem than the same crack on an open wall — one is likely an ongoing water source, the other might be impact damage or material fatigue. Repairing the visible board without addressing the cause just buys a few years before the same spot fails again.
Checking What's Behind the Siding
Siding is one layer of a larger water-management system that includes house wrap or building paper, flashing at every horizontal transition, and properly lapped seams that shed water downward and outward. When we open up a damaged section, we're checking that barrier and the sheathing underneath it, not just swapping in a new board and calling it done. If the barrier or sheathing has taken on moisture, that has to be addressed first or the repair won't hold.
Matching Material, Profile, and Fastening
A patch that doesn't match the existing siding's profile, reveal, or fastening pattern will show — and more importantly, it can create a new water entry point if the laps and seams don't align correctly with the surrounding boards. Correct fastening depth and placement matter too; over-driven or under-driven nails are a common cause of early failure in siding repairs done in a hurry.
Repair or Replace? How We Make the Call
Not every siding problem needs a full re-side, and not every damaged board can be responsibly patched. We walk homeowners through the actual condition of the wall before recommending either direction.
| Factor | Repair Is Usually Enough | Replacement Should Be Considered |
|---|---|---|
| Extent of damage | Isolated to one or two sections | Spread across multiple walls or elevations |
| Sheathing condition | Dry, solid when probed | Soft, delaminating, or visibly rotted |
| Siding material | Fiber cement or sound wood in good shape elsewhere | Failing wood, warped LP-style panels, or brittle old vinyl |
| Age of the siding system | Well within expected service life | Near or past the manufacturer's expected lifespan |
| Root cause | Identifiable and correctable (flashing, caulk, one-time impact) | Systemic — wrong product for the exposure, chronic moisture |
The honest answer is that a targeted repair is often the right call, and we'll say so. But if we find the underlying sheathing compromised in more than a couple of spots, patching individual boards just delays a bigger job while the damage keeps spreading behind the wall.
Why We Repair and Rebuild With James Hardie Fiber Cement Only
When a repair calls for new siding material — whether it's a few boards or a full elevation — we use James Hardie fiber cement, and it's the only siding product we install. That's a deliberate standard, not a default.
Fiber cement doesn't absorb water the way wood or wood-based composite siding can, so it holds up better through the long wet stretches this area sees without swelling, delaminating, or hosting the kind of sustained moisture that feeds rot. It's also non-combustible, which matters more each year given regional wildfire smoke and ember exposure concerns. Hardie's HZ5 product line is engineered specifically for climates with significant moisture exposure, which lines up with what Whatcom County homes actually deal with rather than a generic national spec.
The factory-applied ColorPlus finish is a practical advantage for repairs specifically: because the color is baked on at the factory rather than field-painted, a properly matched patch blends in without requiring a full repaint of the wall to hide the seam. That's a real difference from field-finished materials, where a touch-up almost always reads as a touch-up.
We don't install vinyl, LP SmartSide, cedar, primed spruce, or other fiber cement brands, and we're upfront about why. Vinyl expands and contracts significantly with temperature swings and can crack or warp at fastening points over time. Wood-based composite panels rely on their factory coating staying intact — once that's breached, the engineered wood core underneath is vulnerable to swelling in exactly the wet conditions Burlington gets for months at a stretch. Cedar and primed spruce look great initially but need consistent maintenance to keep water out, and that maintenance burden is easy to fall behind on. None of these are bad products in every context — they're just not what we're willing to warranty our work on in this climate.
Our Siding Repair Process for Burlington Homes
Inspection and Diagnosis
We start by looking at the whole wall system, not just the spot the homeowner called about. That means checking for soft sheathing, probing suspect areas, and looking at flashing and caulk lines at transitions — windows, trim, roof-to-wall intersections, and grade level.
A Written Scope Before Any Work Starts
Once we know what's actually going on, we put together a clear scope: what's being repaired, what material is going in, and what it costs. No surprise change orders for work we could have identified up front.
The Repair Itself
Damaged material comes out, the barrier and sheathing underneath get evaluated and corrected if needed, and new material goes in matched to profile, reveal, and fastening pattern. Flashing gets addressed at the same time if it's part of the problem — patching siding over bad flashing just guarantees a repeat visit.
Cleanup and Walkthrough
We walk the finished area with the homeowner before we consider the job done, so there's no ambiguity about what was fixed and why.
What Happens When Siding Damage Gets Left Alone
The progression is fairly predictable. A small crack or gap lets in a small amount of water. That water doesn't dry out fast in a climate with a long wet season, so it sits against the sheathing or framing behind the siding. Over time, that leads to soft sheathing, and eventually to framing damage that's a structural repair rather than a siding repair. Insulation loses effectiveness once it's wet, and damp wall cavities are an entry point for pests. What would have been a same-day board replacement turns into opening up the wall, replacing sheathing, and re-siding a larger section — at a cost that's rarely proportional to how small the original problem looked.
Why Hiring a Crew That Already Works in Burlington Matters
A contractor who works this area regularly has already seen how homes here were originally sided, what products were common in different build eras, and which orientations and exposures tend to show damage first given the local wind and rain patterns. That translates into faster, more accurate diagnosis — less time spent figuring out what's normal for this area versus what's an actual problem, and less guesswork about how a repair will hold up through another wet season.
It also means realistic expectations about timing. Siding repair work here often needs to work around stretches of wet weather, and a crew that's used to scheduling around this region's conditions will set expectations accordingly instead of promising a timeline that gets pushed back repeatedly.
If you're noticing any of the warning signs above on your Burlington home, we're happy to take a look and give you a straight answer about what's actually going on — no pressure, no upsell. Use the form below to request a free estimate.