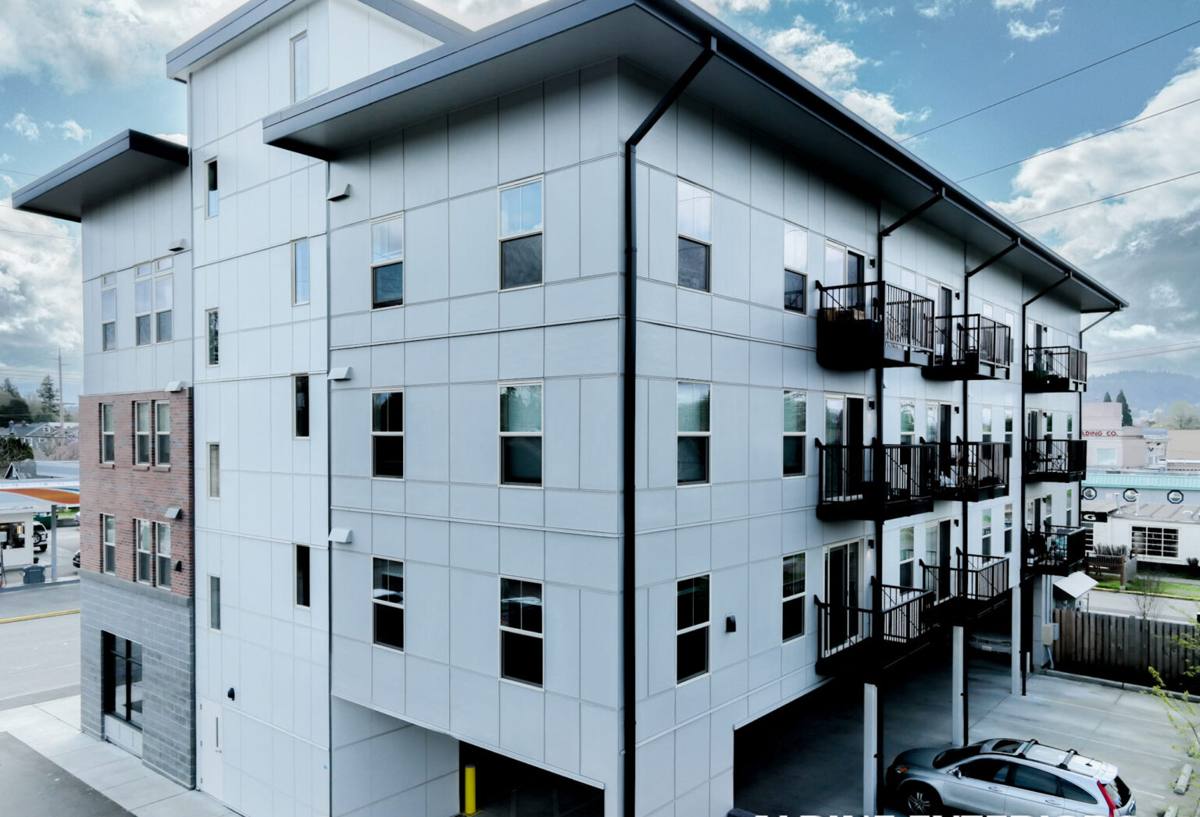
 Chuckanut Exterior
 Why Burlington Homes Need Siding Built for This Climate
Homes in the Burlington area sit close enough to the water and the marine air pattern that siding gets tested in ways drier inland climates never see. Salt-laden air corrodes fasteners and finishes over time. Driving rain, pushed sideways by wind off the Sound, finds every gap in a poorly flashed wall. And the long stretch of grey, damp months each year — often eight or nine straight months without much drying time — gives moss, algae, and mildew a head start on any siding material that can't shed moisture fast or resist organic growth.
None of this is unusual for western Washington. It's just the baseline. The problem is that a lot of siding gets installed as if the climate were an afterthought — caulk instead of proper flashing, thin coatings that chalk and fade, seams that trap water instead of shedding it. On a home in Burlington, those shortcuts show up faster than they would somewhere drier, and they cost more to fix later than they would have to do right the first time.
Why We Only Install James Hardie
Chuckanut Exterior Company installs James Hardie fiber cement siding exclusively. We don't offer vinyl, LP SmartSide, cedar, primed spruce, or other fiber cement brands, and that's a deliberate standard, not a lack of options. Fiber cement itself — cement, sand, and cellulose fiber pressed and cured — doesn't rot, doesn't attract insects, and doesn't warp the way wood-based products can when they take on moisture season after season. James Hardie specifically engineers its HardieZone products for regional climate exposure, and backs the installed product with a strong transferable warranty when it's installed to their specification.
That last part matters as much as the product itself. Fiber cement siding is only as good as the installation behind it. A correctly installed Hardie system and a poorly installed one can look identical on the day the crew leaves — the difference shows up three, five, ten years later, usually right around the flashing details and butt joints that were rushed.
What ColorPlus Finish Adds in a Marine Climate
Most of our Burlington installs use Hardie's ColorPlus factory-applied finish rather than field-applied paint. It's baked on in a controlled environment, which gives it better adhesion and fade resistance than paint applied on-site in variable weather — a real advantage here, where you rarely get more than a few consecutive dry days to work with. It also means touch-up, when it's ever needed, is limited to nail heads and cut edges rather than full repaints.
What Correct Installation Actually Involves
The siding panels are the visible part of the job. The parts that determine whether the job lasts are mostly hidden once we're done, which is exactly why they're worth explaining.
- A drainage plane and weather-resistive barrier installed and lapped correctly, so any water that gets behind the siding has a path out
- Rigid flashing at every horizontal joint, window head, and roofline transition — not caulk used as a substitute for flashing
- Proper fastener placement and spacing per Hardie's fastening schedule, using corrosion-resistant fasteners suited to a salt-air environment
- Correct gaps at butt joints and trim, sealed with a quality sealant rated for exterior fiber cement, not just whatever's on the truck
- Clearance between the bottom of the siding and grade, decks, or roofing, so the material never sits in standing water or splashback
- Field-cut edges sealed before installation to protect the substrate at every cut
Skip any one of these and the siding can still look fine going up. It's what happens in year four or five — moisture intrusion at an unflashed joint, a fastener bleeding rust through the finish, a bottom edge wicking water because it was set too close to the deck — that separates a correct install from a fast one.
Getting the Details Right Around Openings
Windows, doors, and any wall penetration are where driving rain does the most damage if flashing is wrong. In a climate that pushes rain sideways as often as it falls straight down, we treat every opening as its own small drainage system — head flashing that sheds water out and away, not just over the top of the trim, and sill details that don't rely on caulk alone to stay watertight.
Correct Installation vs. Common Shortcuts
| Detail | Done Right | Common Shortcut |
|---|---|---|
| Joint sealing | Rigid flashing, sealant as backup | Caulk alone, no flashing |
| Fasteners | Corrosion-resistant, correct spacing | Standard fasteners, wide spacing to save time |
| Bottom clearance | Gap maintained above grade/decks/roofing | Siding set flush to grade or hardscape |
| Cut edges | Sealed before install | Left raw, sealed later or not at all |
| Finish | Factory ColorPlus or full-coverage field coat | Thin touch-up coat over unprimed cuts |
Our Process for a Burlington Job
Assessment and Scope
We start by walking the exterior with the homeowner, looking at existing siding condition, trim, window flashing, and any signs of past moisture problems — staining, soft spots, visible mold or moss buildup. That tells us whether this is a straightforward re-side or whether there's underlying sheathing or framing damage that needs to be addressed before new siding goes on. We'd rather find that at the estimate stage than after demo.
Tear-Off and Substrate Check
Old siding comes off, and we inspect the sheathing and existing weather barrier underneath. Anywhere we find rot, water staining, or a compromised barrier, we repair it before anything new goes up. Installing new siding over a damaged substrate just hides the problem for a while.
Weather Barrier and Flashing
This is the step that protects the house for the next several decades, and it's the one that's easiest to shortcut and hardest to inspect after the fact. We install and lap the weather-resistive barrier correctly and flash every joint, window, and transition before a single piece of Hardie goes on.
Installation
Panels, planks, or shingle-style siding go up per Hardie's fastening and clearance specifications, with attention to butt joint placement so seams don't line up in a way that concentrates water flow.
Final Detail and Walkthrough
Caulking, touch-up, cleanup, and a walkthrough with the homeowner so you know what was done and what to watch for going forward.
Why Local Experience in This Area Matters
A crew that works this stretch of western Washington regularly knows the difference between a wall that needs standard flashing and one that needs extra attention because it faces prevailing wind and rain, or sits low enough to catch splashback and moss buildup for most of the year. That's not something you learn from a manual — it's something you learn from working houses in this climate season after season. It also means we're not guessing at how James Hardie's HZ5 product line performs here; we're installing it in the exact conditions it's built for, repeatedly, and standing behind that work locally.
Maintenance and What to Expect Over Time
Correctly installed Hardie siding with ColorPlus finish is low-maintenance, not no-maintenance. In this climate, that mostly means periodically rinsing off moss, algae, or grime buildup — especially on north-facing walls and anywhere shaded and slow to dry — and keeping an eye on caulking at joints and trim over the years, since sealant has a shorter service life than the siding itself. It does not mean repainting every few years or patching soft spots, which is a routine a lot of homeowners coming from wood siding are used to and won't need anymore.
Cost Factors to Expect
| Factor | Why It Affects Price |
|---|---|
| Tear-off scope | Full removal and disposal of existing siding vs. simpler re-side |
| Substrate repair | Rot or water damage found under old siding adds repair work before install |
| Siding profile | Lap, shingle, or panel styles vary in material and labor cost |
| Finish choice | Factory ColorPlus vs. field-applied paint affects material cost and labor |
| Trim and detail work | Homes with more window/door openings and roof transitions require more flashing labor |
We give exact numbers only after seeing the house — anyone quoting a firm price over the phone for a full re-side hasn't actually assessed the substrate yet.
Checklist: What to Ask Before Hiring a Siding Crew Here
- Are they installing to the manufacturer's written fastening and flashing specifications, or just "how they've always done it"?
- Will they inspect and repair sheathing and weather barrier before installing new siding, not just over it?
- Do they use rigid flashing at joints and openings, or rely mainly on caulk?
- Can they explain how their install accounts for driving rain and prolonged damp weather specifically?
- Does the warranty transfer if you sell the home, and is it backed by both the manufacturer and the installer?
If your siding is showing moss buildup, fading, soft spots, or gaps that let water in during storms, it's worth having it looked at before another wet season passes. We're happy to walk the exterior with you and give you a straightforward, no-pressure estimate on a James Hardie install built for what this area actually throws at a house.