 Chuckanut Exterior
 When a Storm Hits a Sehome Roof
Wind off the water, driving rain, and the occasional heavy wet snow all put real stress on roofs in Sehome. Most storm damage isn't dramatic. It's a handful of lifted shingles, a piece of flashing that got peeled back, a branch strike that cracked a few tabs, or a gutter that filled with debris and backed water up under the roof edge. Homeowners often don't notice until they see a stain on a ceiling or ask us to take a look after a bad weather week.
The tricky part with storm damage is that it rarely announces itself clearly. A roof can look fine from the ground and still have wind-lifted shingles that broke their seal, or nail heads that popped just enough to let water in during the next rain. That's why a proper storm inspection isn't just a walk-around — it's a methodical check of every vulnerable point: ridge, valleys, flashing, penetrations, and edges.
Signs Worth a Call
Granule buildup in gutters or downspouts, shingles that look curled or lifted at the corners, missing pieces after a windstorm, water stains on interior ceilings or walls, and daylight visible in an attic are all reasons to have a roof checked. None of these guarantee major damage, but each one is worth a straightforward inspection rather than a guess.
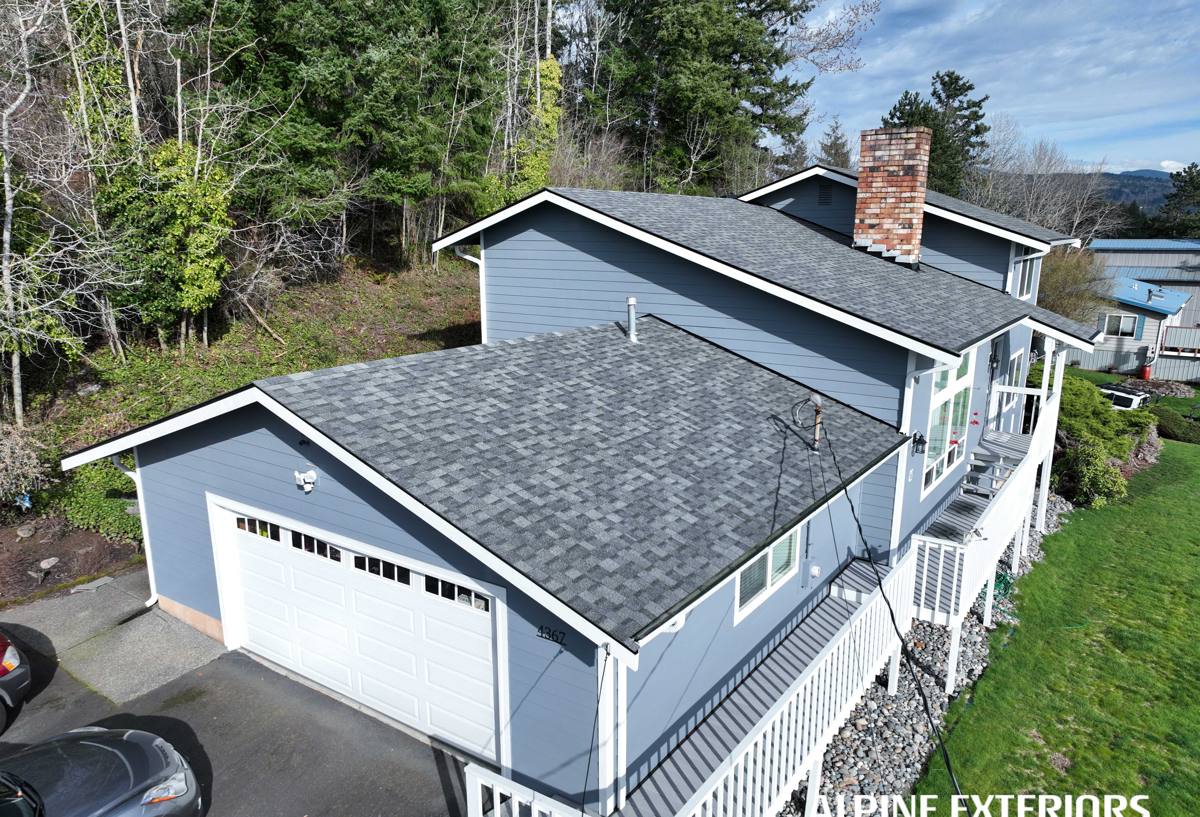
Why Chuckanut's Climate Is Hard on Roofs
Homes in Chuckanut and the surrounding Whatcom County area deal with a specific combination of conditions that wears roofing down faster than in drier inland climates. Salt-laden air off the water accelerates corrosion on exposed metal — fasteners, flashing, and vent caps take the brunt of it. Driving rain, especially when it comes in at an angle during a windstorm, tests every seam and lap in a roofing system, not just the field of the shingles. And the long, damp moss season here means organic growth has months at a time to take hold on shaded or north-facing slopes.
Moss and Roof Damage — the Real Connection
Moss itself doesn't punch holes in a roof, but it does two things that lead to damage. First, it holds moisture against the shingle surface far longer than the shingle was designed to tolerate, which speeds up granule loss and shortens the roof's usable life. Second, as moss mats grow and thicken, they can lift shingle edges just enough to let wind-driven rain get underneath. A storm that a healthy, moss-free roof would shrug off can find an opening on a roof that's had moss sitting on it for a season or two.
Salt air compounds this by attacking the metal components — nails, flashing edges, and gutter fasteners — that hold everything together. When those start to corrode, the whole system gets more vulnerable to the next round of wind and rain.
What a Correct Storm Repair Actually Involves
A storm repair done right isn't just patching the spot that's visibly damaged. It starts with tracing water back to its actual entry point, which is often several feet from where the stain or leak shows up inside. Water follows the path of least resistance along decking and framing before it drips somewhere visible, so a repair that only addresses the visible symptom often leaves the real problem in place.
Steps We Follow
- Inspect the full roof plane, not just the reported problem area, since storm damage is rarely isolated to one spot
- Check flashing around chimneys, vents, and valleys — these are the most common failure points in wind and rain events
- Examine decking condition where shingles have been removed or lifted, since prolonged moisture exposure can soften plywood
- Match replacement materials as closely as possible to existing roofing so repairs don't stand out or create uneven wear patterns
- Re-seal and re-fasten with corrosion-resistant hardware appropriate for a coastal-influenced climate
Skipping any of these steps is how a "repair" ends up needing to be redone within a year or two. It's also how small leaks turn into rot that costs far more to fix down the line.
Common Storm Damage Types and Repair Approaches
Not every type of storm damage calls for the same fix. Here's how we generally approach the issues we see most often on Sehome roofs.
| Damage Type | Typical Cause | Repair Approach |
|---|---|---|
| Lifted or missing shingles | Wind uplift, broken seal | Replace affected shingles, re-seal surrounding tabs |
| Cracked or torn shingles | Wind-driven debris, branch strikes | Section replacement matched to existing material |
| Flashing failure | Corrosion, wind flexing, poor original install | Remove and re-flash with corrosion-resistant metal |
| Gutter and edge damage | Wind load, ice buildup, debris weight | Re-secure or replace sections, clear drainage path |
| Soft or rotted decking | Prolonged moisture intrusion under damaged shingles | Cut out and replace decking before re-roofing that section |
| Moss-related granule loss | Long-term moss growth on shaded slopes | Moss removal, treatment, and shingle condition assessment |
The decking row is the one homeowners least expect and most want to avoid. It's also the reason we don't quote a repair sight unseen — until shingles come off, you can't know for certain what the deck underneath looks like.
Our Process From Call to Completed Repair
1. Inspection and Honest Assessment
We walk the roof (or use a lift/drone when pitch or access makes that safer) and document what we find. If the damage is minor and a repair will hold, we say so. If we find enough underlying wear that a repair is really just delaying a larger job, we say that too.
2. Written Scope Before Any Work Starts
You get a clear description of what's being repaired, the materials involved, and the price — before we touch anything. No surprise change orders unless we open something up and find a condition that genuinely wasn't visible beforehand.
3. Repair Work
Depending on scope, most storm repairs on a Sehome home are completed in a single day. Larger repairs involving decking replacement or extensive flashing work may take longer, and we'll tell you that upfront, not after we've started.
4. Final Walkthrough
We review the completed work with you, confirm drainage and flashing are functioning correctly, and make sure any debris or old materials are cleared from the property.
Insurance and Storm Claims — What Homeowners Should Know
Many storm-related roof repairs qualify for insurance coverage, but coverage depends on your specific policy and the documented cause of damage. We're glad to provide a written inspection report and photos that you can submit with a claim, and we can point out what an adjuster will typically look for. What we won't do is inflate a scope of work to match a settlement number or claim damage that isn't there — that approach tends to backfire on homeowners later, and it's not how we operate.
If you're unsure whether a claim is worth filing, an honest inspection first is the right move. Sometimes a repair is modest enough that it's simpler to just handle it directly rather than go through a deductible and a claims process.
Temporary Fixes vs When to Call a Pro
After a storm, it's tempting to get up on the roof and deal with visible damage yourself. Sometimes that's reasonable. Often it isn't.
- Safe: Clearing debris from gutters and downspouts at ground level or with a stable ladder
- Safe: Placing a bucket or tarp indoors/temporarily to manage an active interior leak while waiting for a repair
- Risky: Walking a wet, pitched roof after a storm — this is how most weather-related injuries happen
- Risky: Nailing down lifted shingles without knowing if the underlayment or decking beneath is already compromised
- Not recommended: Tarping steep sections yourself in wind — improperly secured tarps can cause additional damage or become a hazard
- Call a pro when: you see interior water stains, missing shingles in a cluster rather than a single piece, or any sagging in the roof line
Why a Crew That Already Works Sehome Matters
Roofing crews who work regularly in this specific area understand things that don't show up in a general roofing manual — how differently sun and shade exposure play out across a given lot, which slope orientations tend to hold moss longest through the wet months, and how the combination of salt air and rain patterns typical to Chuckanut affects flashing and fastener lifespan differently than it would inland. That local pattern recognition means fewer surprises during inspection and repairs that are matched to how this climate actually behaves, not a generic playbook.
It also means faster response after a storm event, since local scheduling isn't competing with travel time from farther away, and it means you're working with a crew that has an ongoing reputation in the neighborhood to stand behind, not a one-time job.
Maintenance After the Repair to Prevent Repeat Damage
A storm repair is a good moment to also address the conditions that made the damage worse than it needed to be. If moss was a contributing factor, treating affected areas and improving airflow where possible will slow regrowth. If gutters were undersized or clogged, clearing them regularly through the fall and winter reduces the odds of water backing up under roof edges during the next storm. And if flashing showed early corrosion from salt exposure, it's worth having it checked again at the next seasonal inspection rather than waiting for the next leak to show up.
None of this is complicated, but it does require someone to actually look at the roof once or twice a year rather than only after something goes wrong. That small habit is usually the difference between an occasional minor repair and a recurring problem.
If a recent storm has left you with missing shingles, a new stain on the ceiling, or just some peace of mind you'd like to have, we're happy to take a look. The estimate is free, there's no pressure, and you'll get a straight answer about what your roof actually needs — use the form below to get started.